Translating Your Site
This feature is available for Pro sites. While translations are available on all editor versions, this article only covers the latest editor version v3.

Getting Started
First open your website in the editor, and click on the language picker in the header. The language picker is next to the page picker and has a blue little flag followed by a two-letter language code of the current language.

Once you've opened the language picker, click on "Manage Languages". You can also find a "Manage Languages" button in the page picker under the "Languages" tab.
Adding a Language
It's important to note that in Umso each page can have it's own set of languages. For example your homepage could be in English, French and German and then your /contact page could be only in english. When you make changes in the language manager they only apply to your current page!
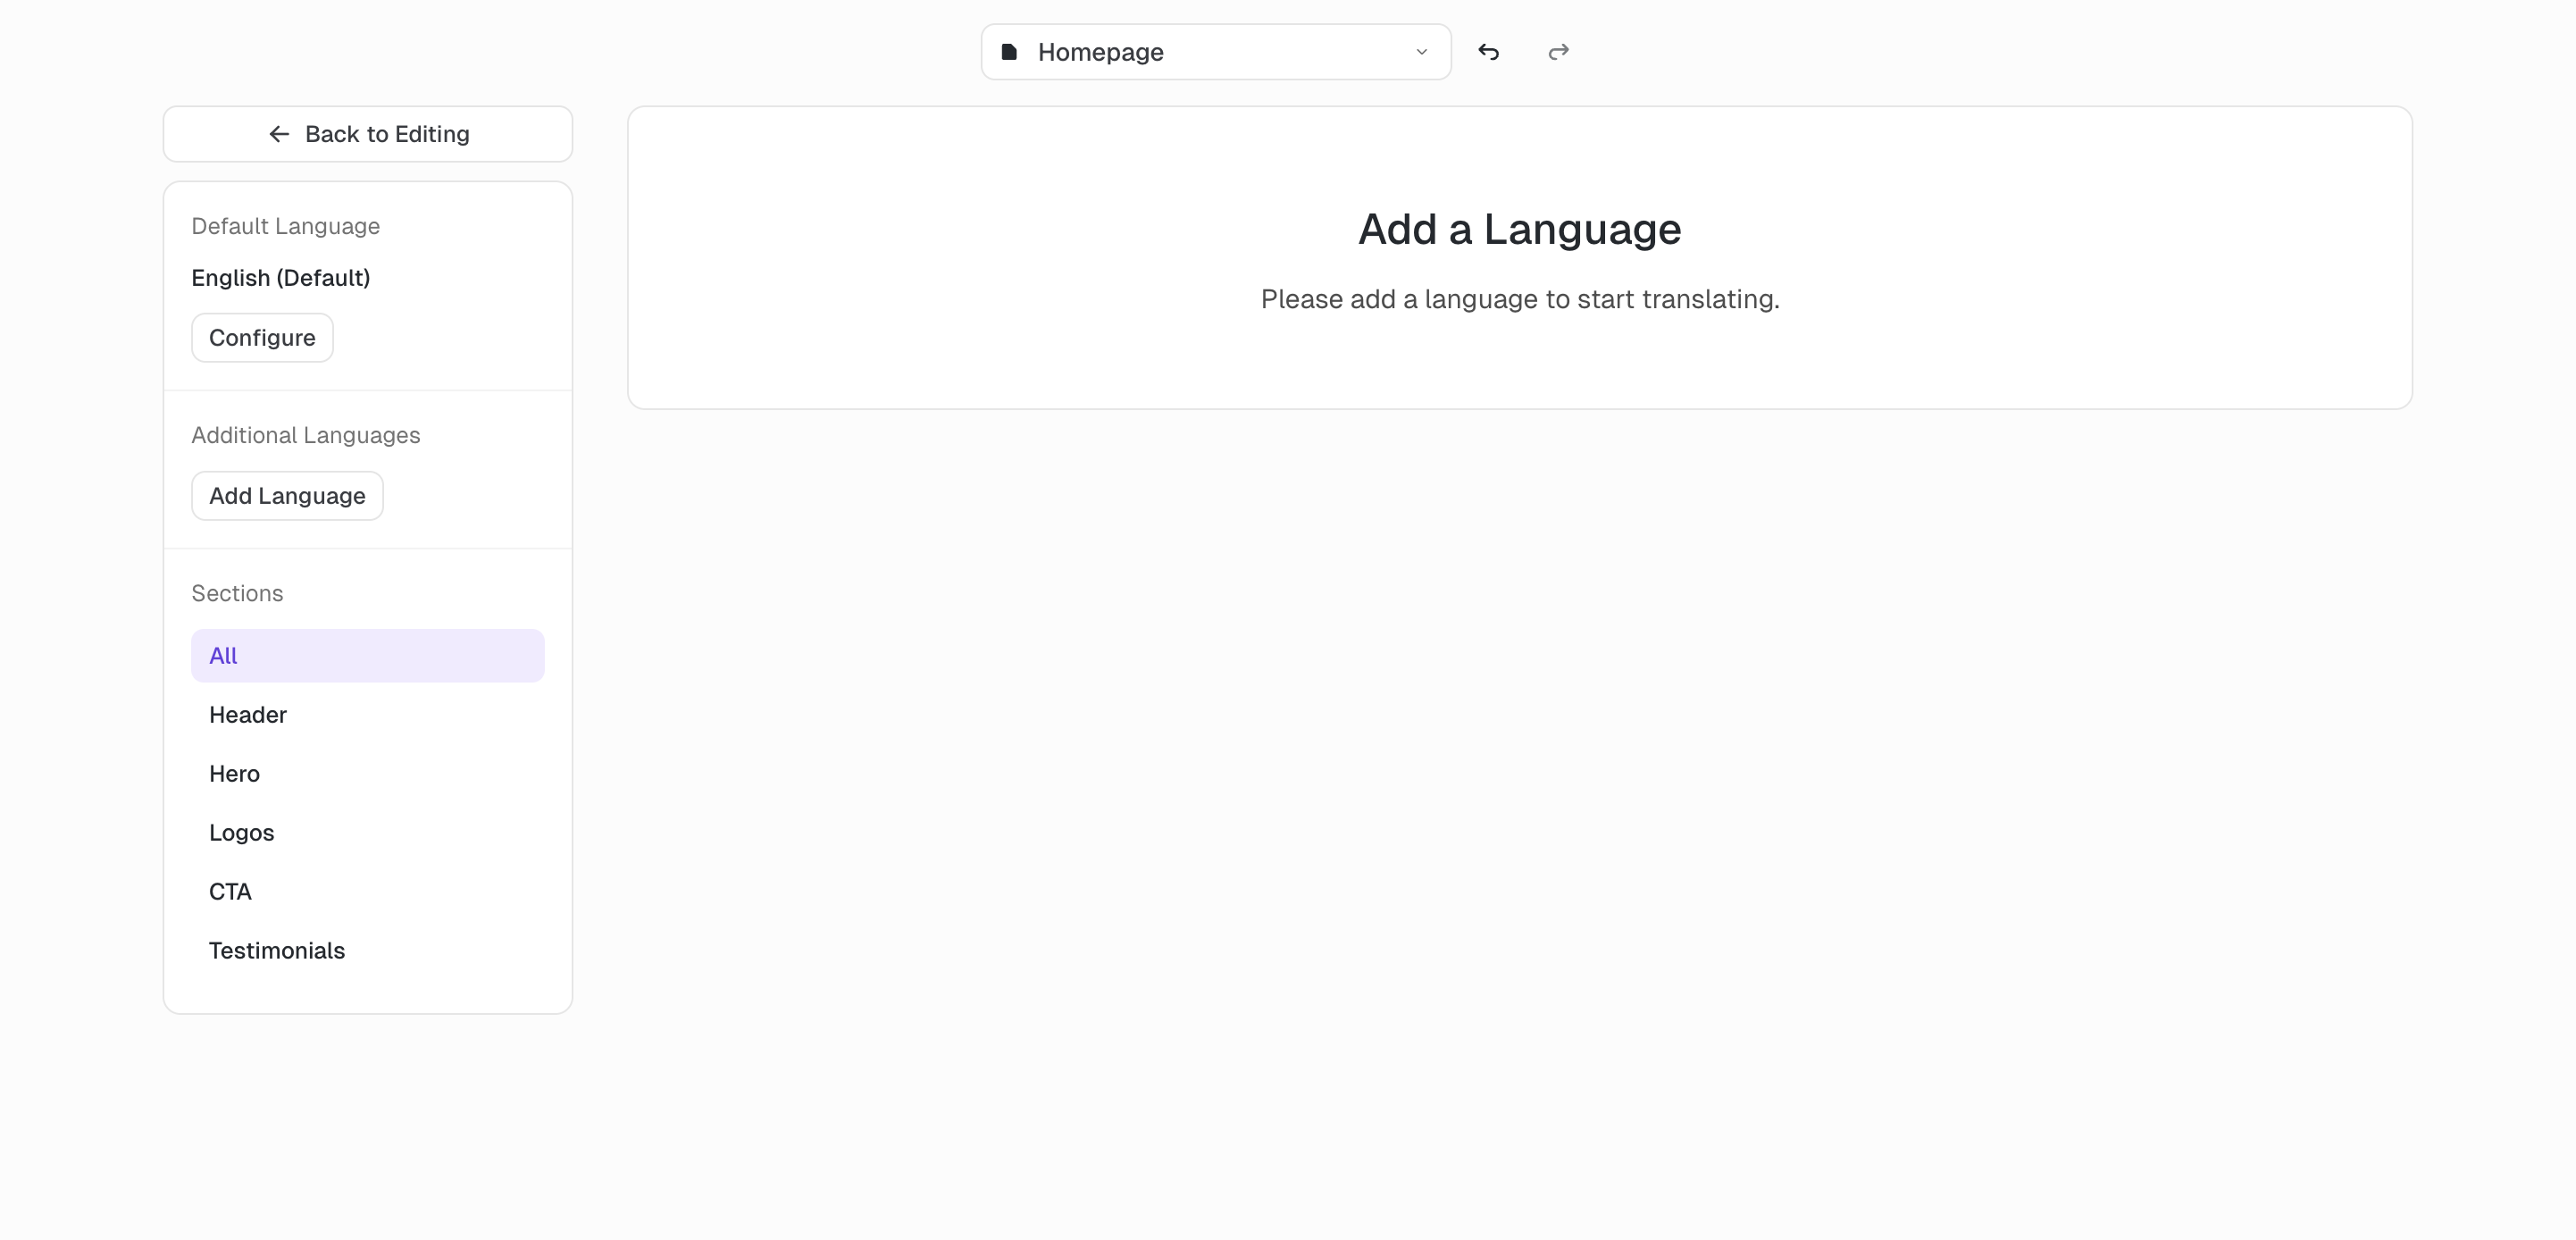
When you first open the translation manager you will likely only have the default language of your site. First make sure that the default language matches your content. For example, if your website is currently in french, click "Configure" under the Default language and set it to french. Then click on "Add Language" under "Additional Languages" and select the language you want to add to your page.
Translating
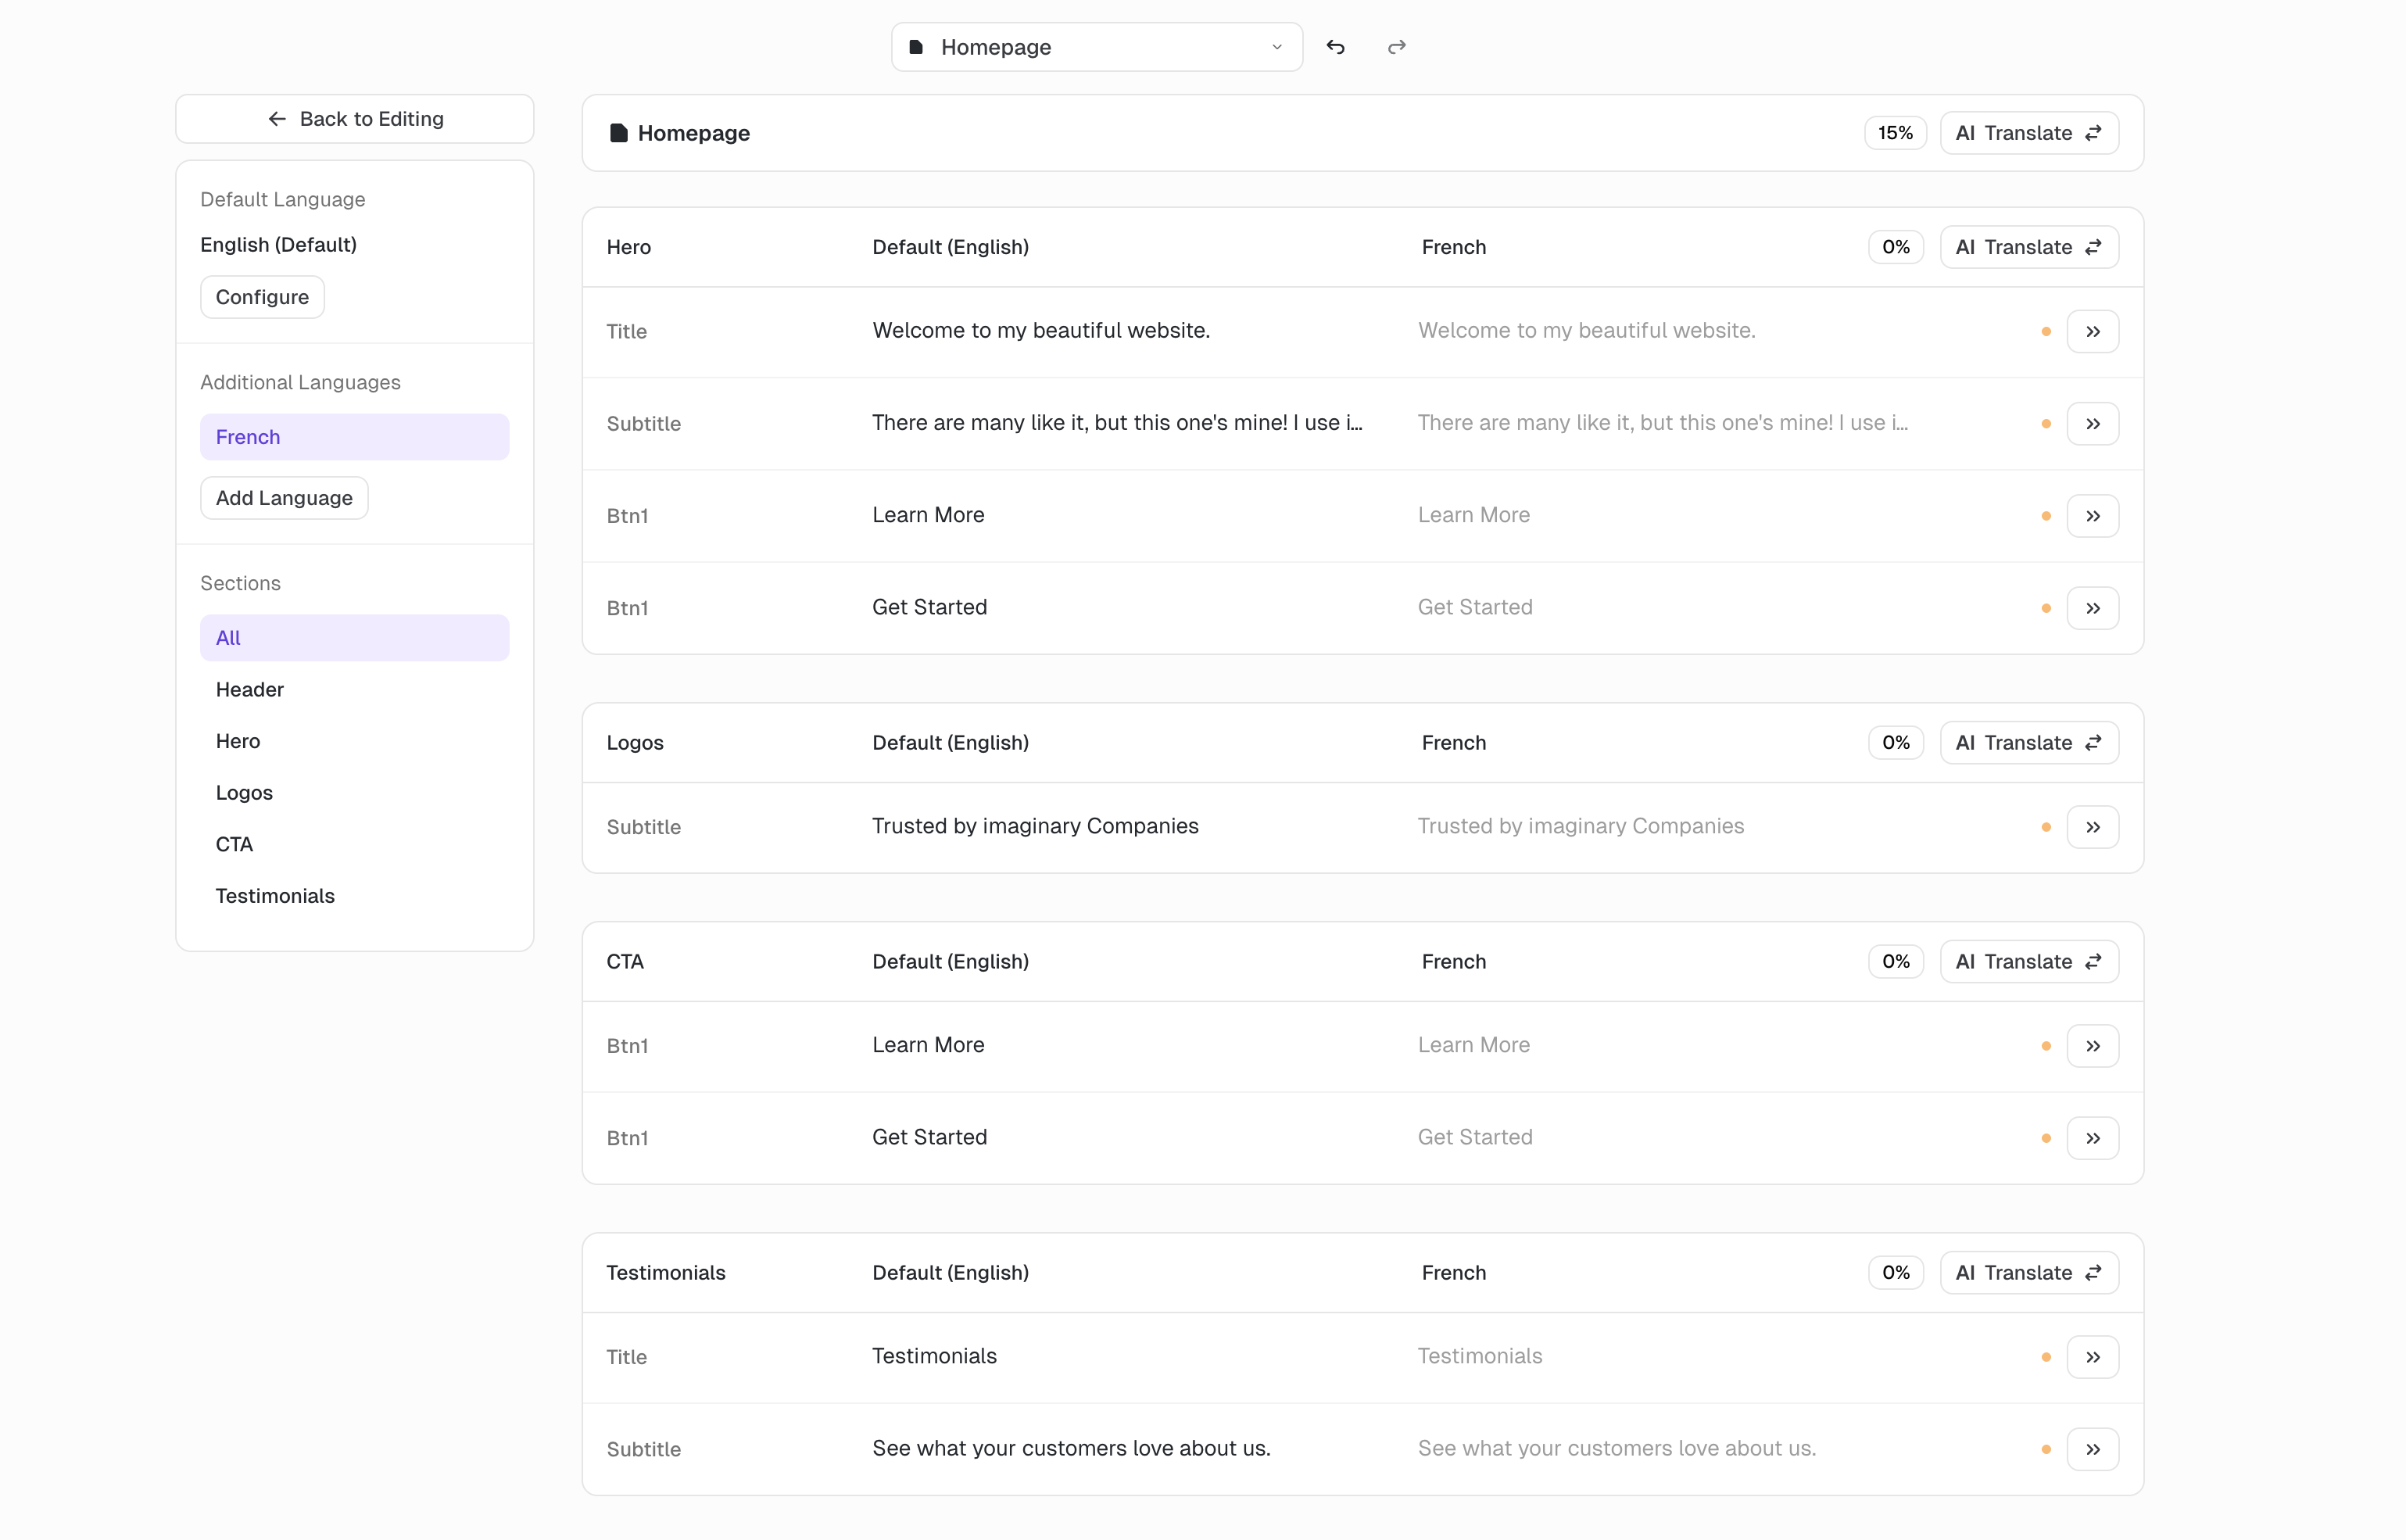
Once your page has at least one additional language, you can start translating. You'll see the content in your Default Language along with the content of your selected Additional Language.
Translating entire Page with AI
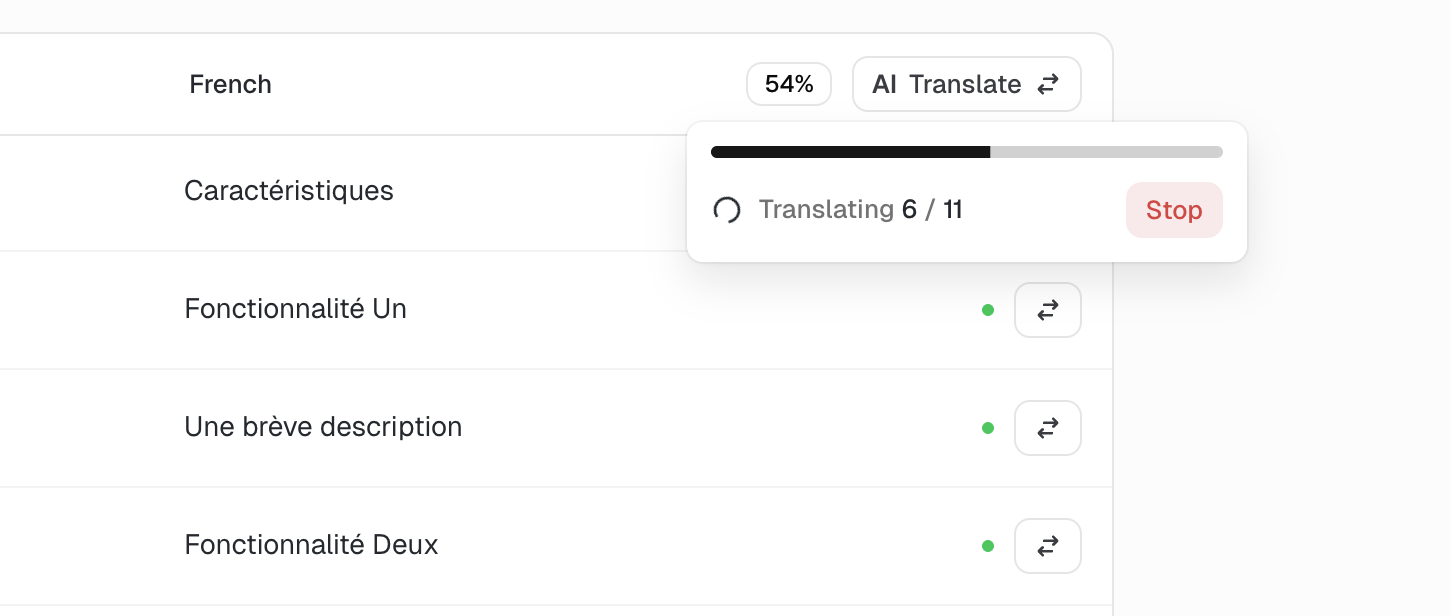
The easiest way to translate your page is to click the "AI Translate" button on top of the page. Next to the button you see the percentage of the page that is already translated.
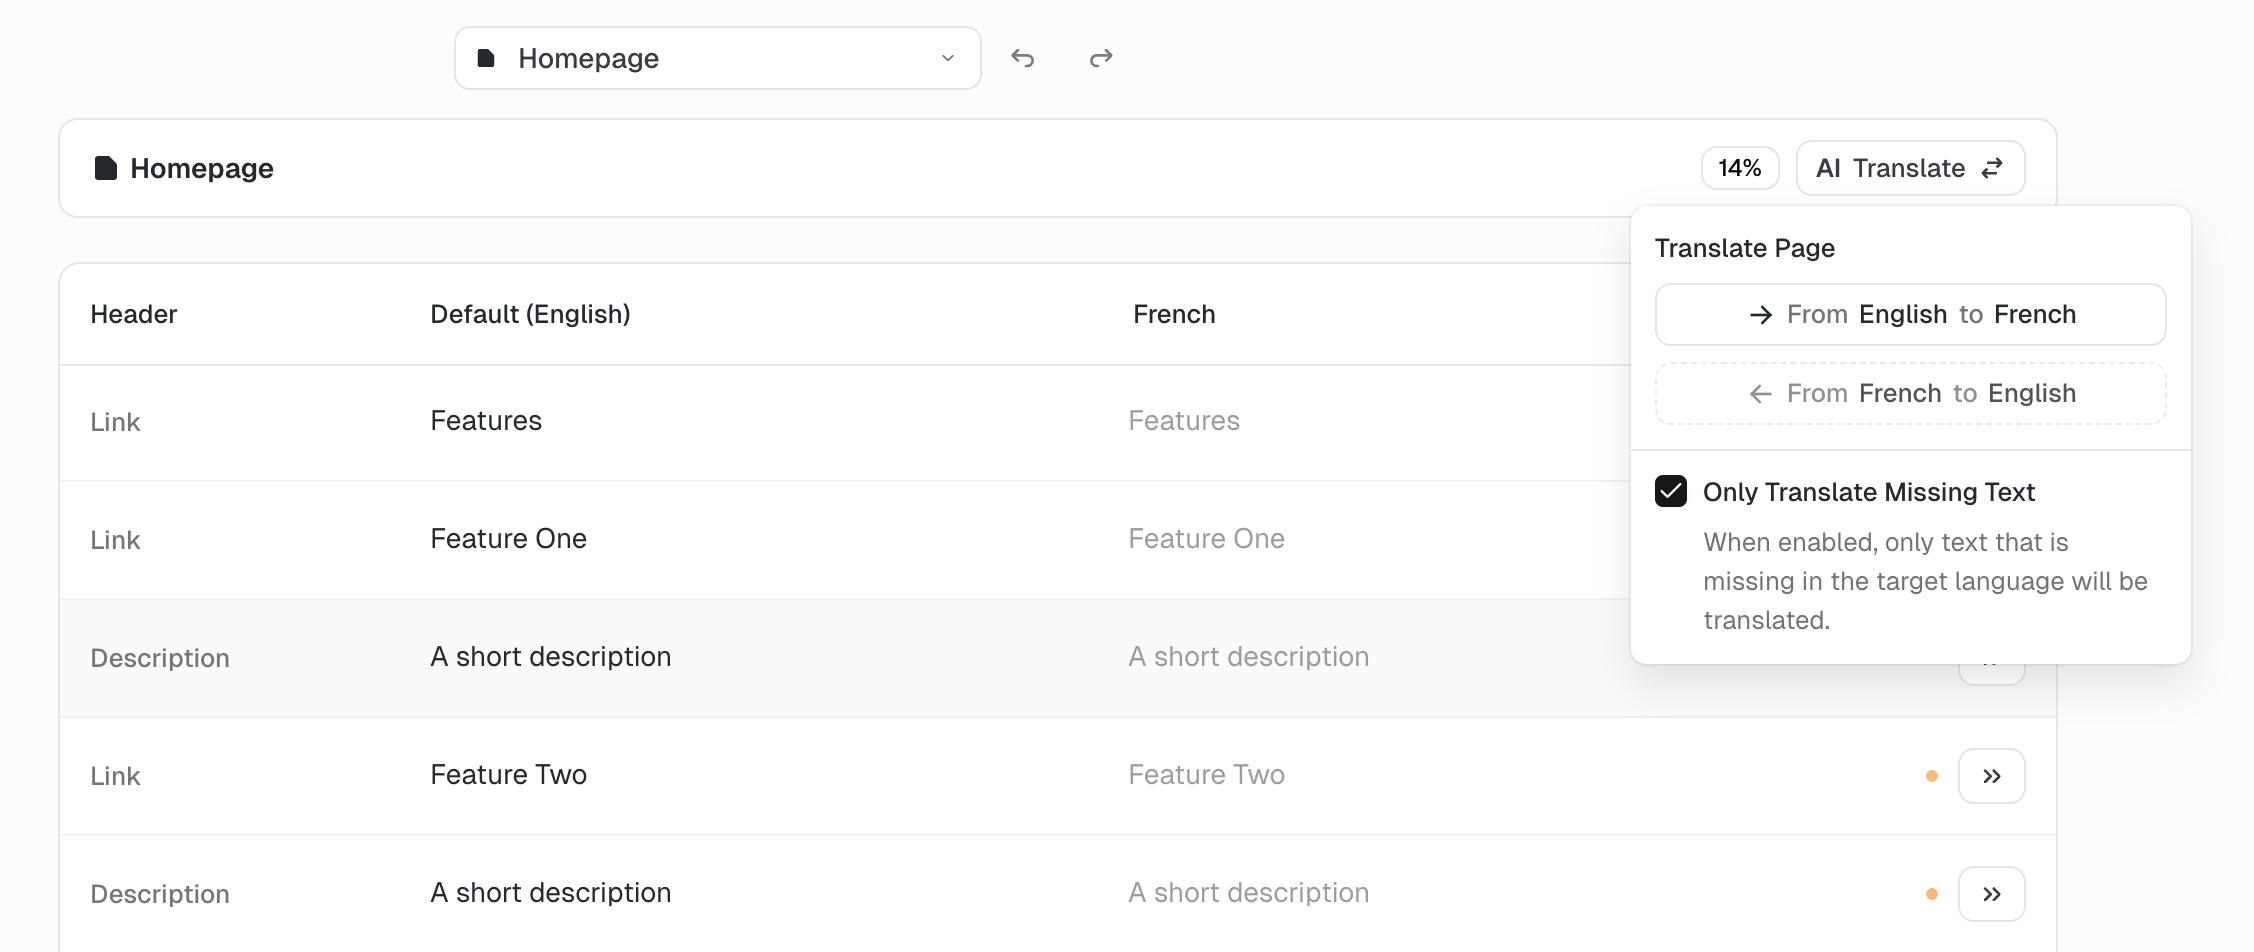
You have the option to only translate the text that hasn't already be translated or you can uncheck that option to translate all text (this will overwrite existing French content in this example).
Translate Individual Sections
You can also use the "AI Translate" button on top of a section to translate all the content of that section.
Manually Translate Content & Make Adjustments
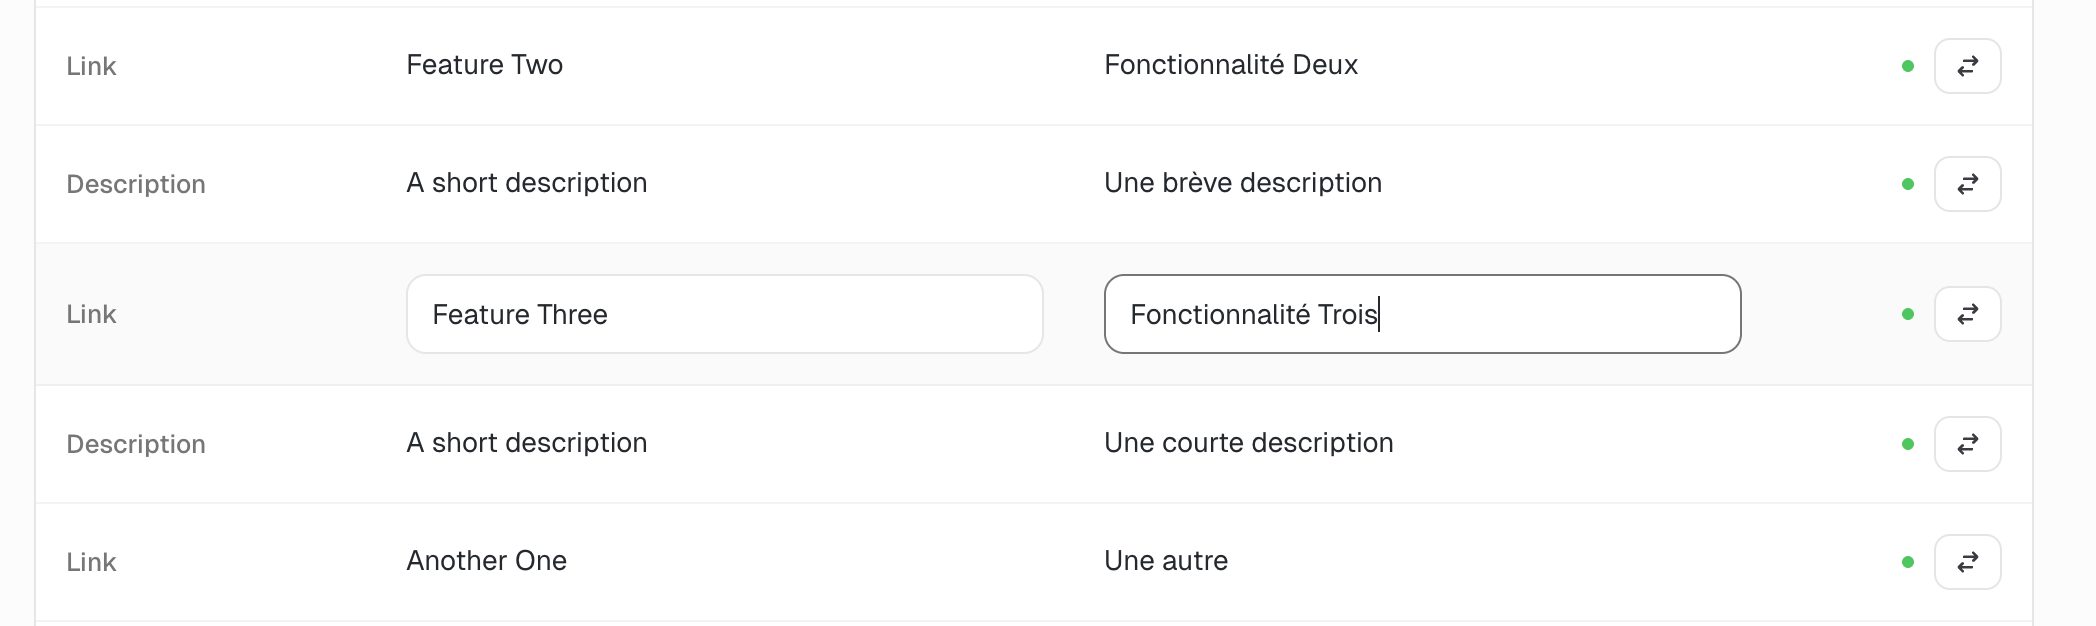
Sometimes you might want to manually translate content or make changes to the AI translation. To do that, simply click the row you want to edit and you will be able to change both the default language and your translation.
Keep in mind that the text editor in the translation manager only shows some of the formatting of your text so if you want to make changes to your text styling, you will have to do that in the editor.
Translating from the Editor
While the translation manager allows you to easily translate entire pages, it doesn't let you see what your text looks like on your site. You may want to adjust the formatting, line-breaks or text length in the editor.
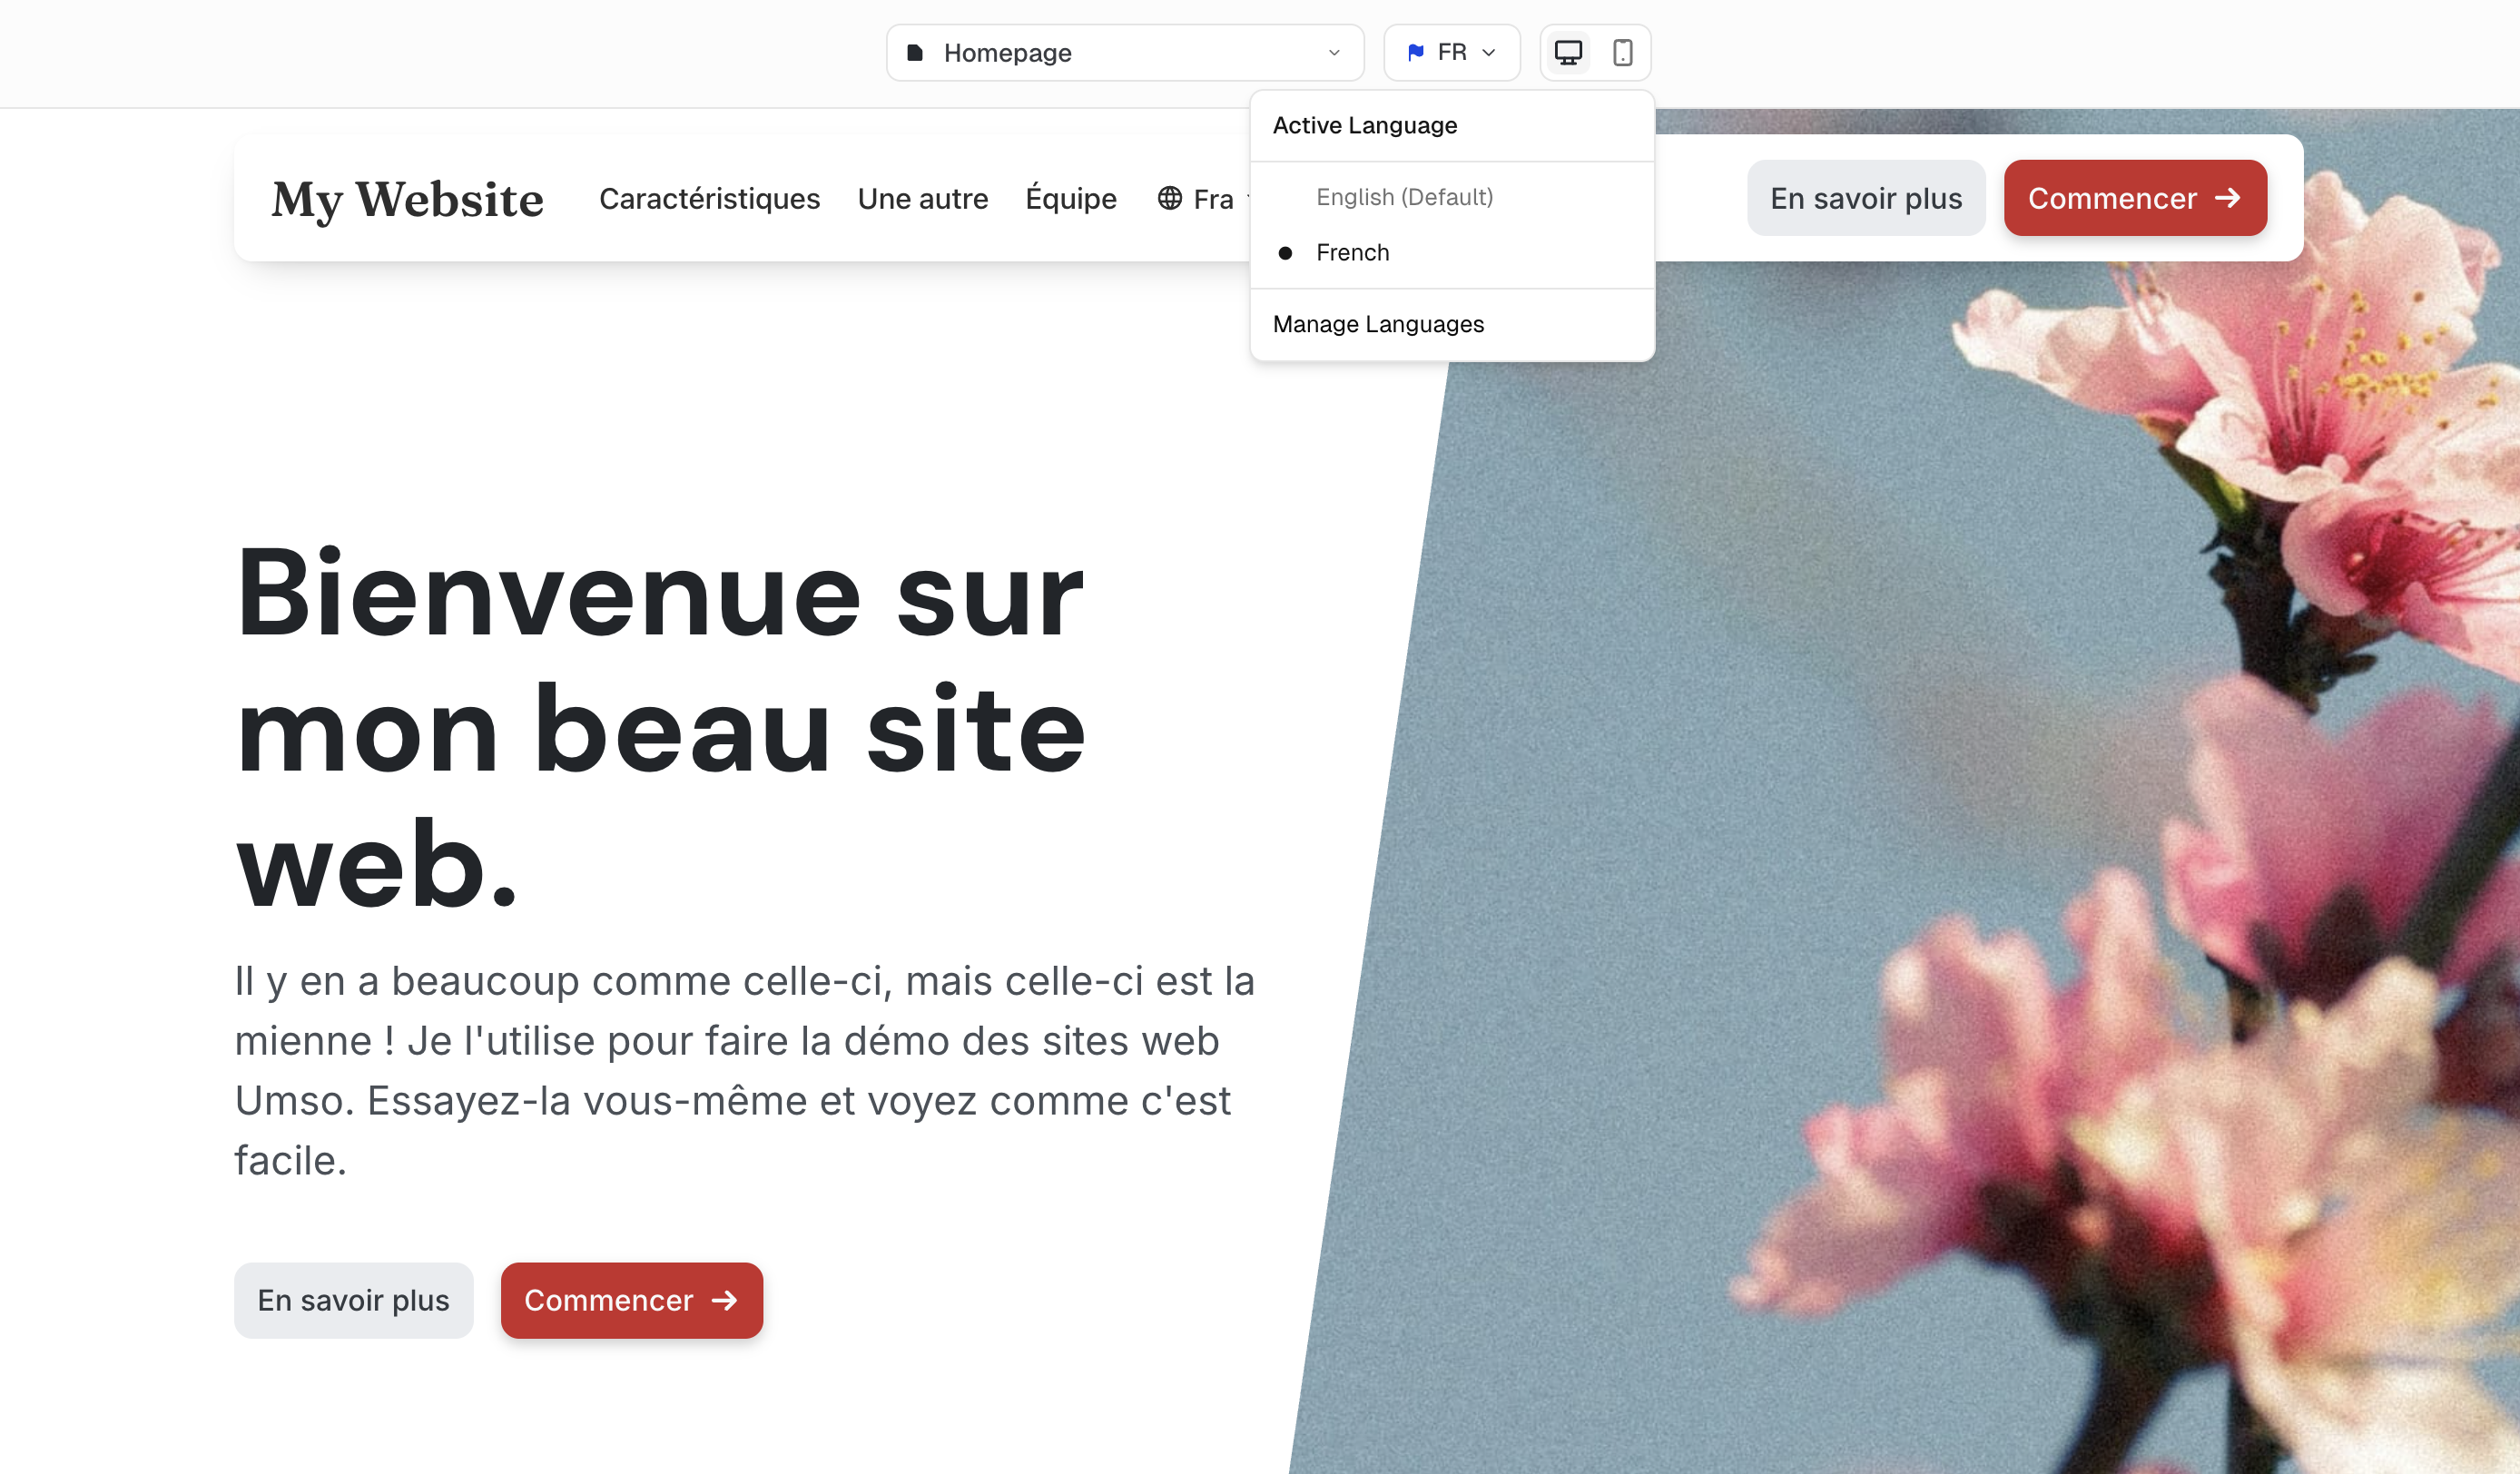
To view your site in a specific language in the editor, just click on the language picker and select the language you want to view and edit. Now any changes you make on your site will edit that language.
Default Language and Fallbacks
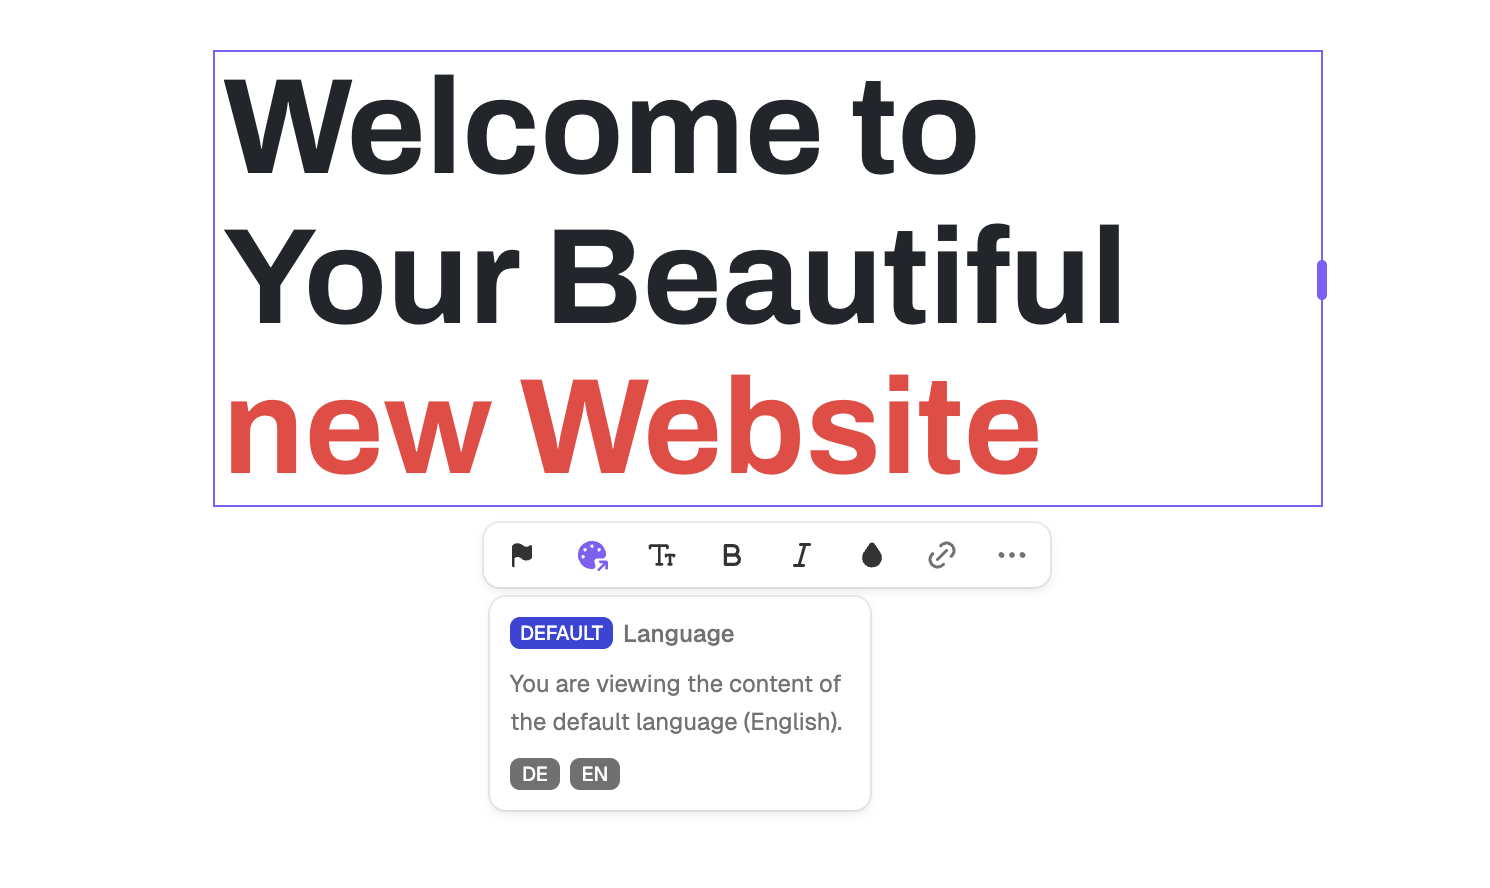
When there is no translation available for a certain language the default language will be shown both in the editor and on your live site. In this example the default language is English and the current language in the editor is French.
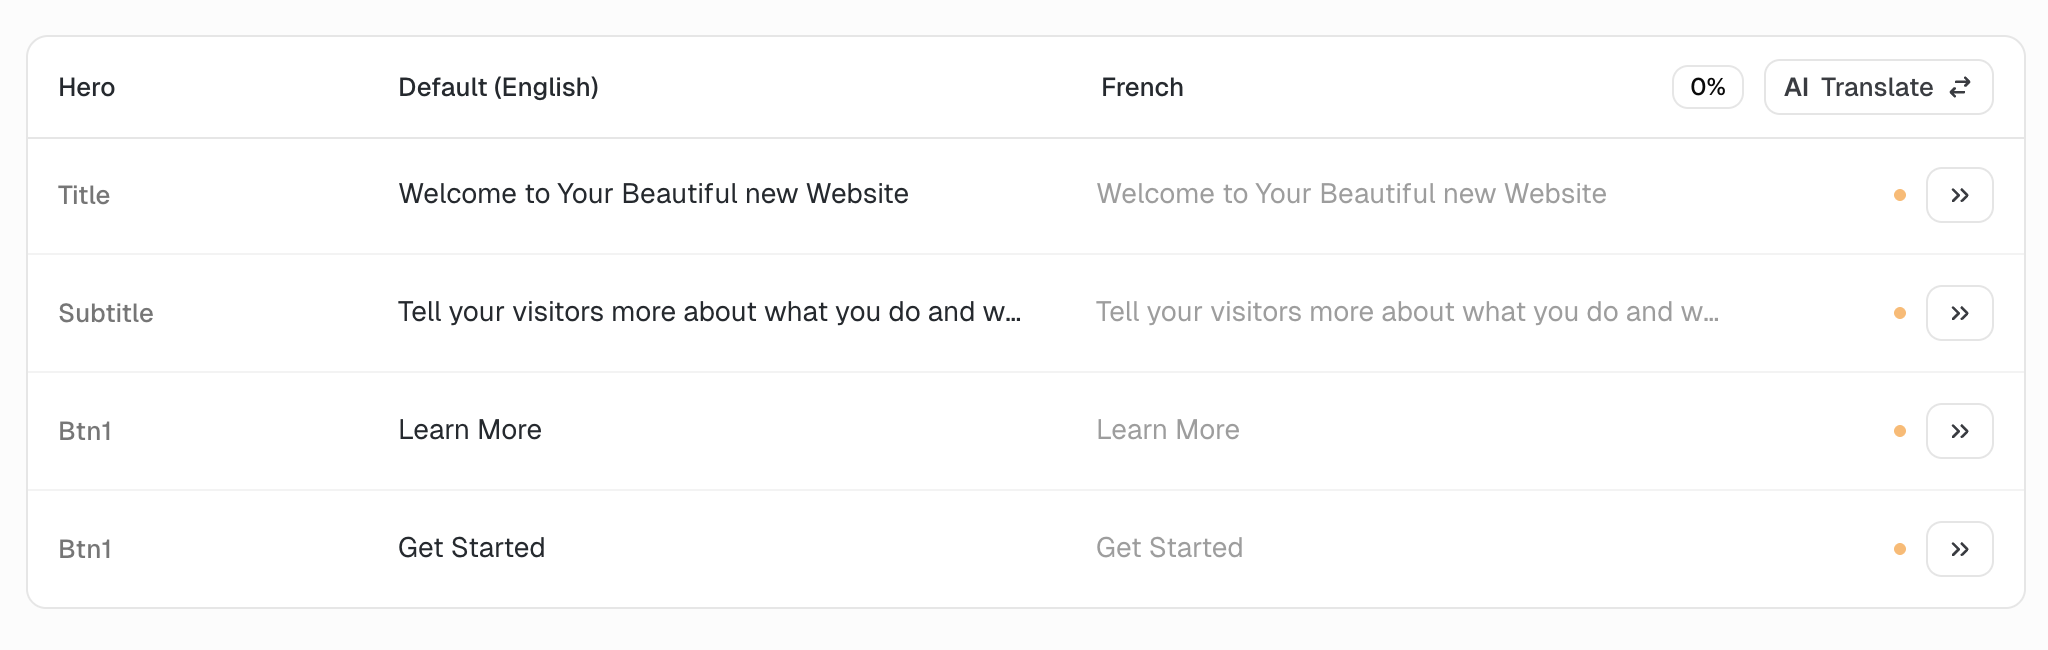
The translation manager shows the english text in grey in the French column to indicate that this is the fallback value that will be displayed.
In the editor you will see the english text when you set the language to french. This is also what your live site will look like when you publish it. In the editor you can click the little flag icon in the text menu to view more information.