
Getting started with Stripe
To make the checkout flow pleasant for your customers and highly secure, Umso uses Stripes new Checkout system. It works both with one-time purchases and subscription plans.
All sensitive data is handled by Stripe and no payment data is ever processed or stored by Umso.
This guide is for existing Stripe customers who are familiar with the platform. If you've never used Stripe before, you can learn more over at stripe.com.
1. Enable Checkout
Visit the Stripe Settings page to enable the Checkout client integration. Then add the domain of the Umso website you'd like to use checkout with to the Domains input field.
Optional: Adjust the appearance of your Stripe Checkout page over here.
2. Connect to Stripe
Visit the integration settings in the Umso dashboard to connect your Umso account with your Stripe account. Follow the instructions on your screen until the integration page reads "You have connected your account".
3. Create Products and Prices
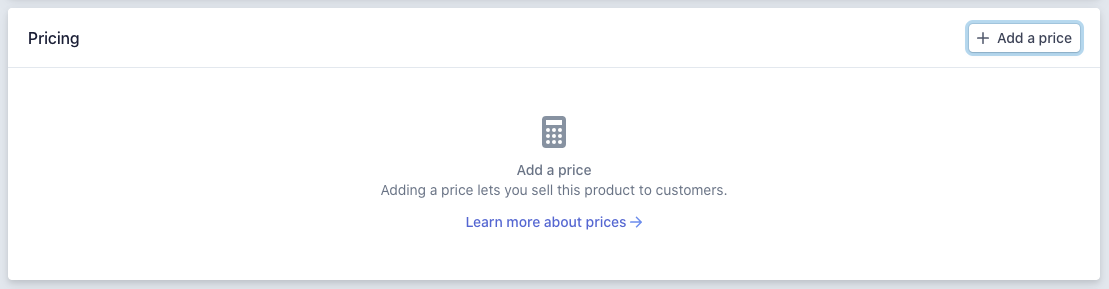
We use the Stripe Price API to load your products and prices. Make sure you have some products and prices in Live mode. If you have created your products a while ago, you might only have SKUs instead of prices. In that case, you can add prices through the UI as shown below:
4. Add checkout to your site
Now you are ready to add the Stripe checkout flow to your website. Open your site in the editor and scroll to your pricing section (only pricing sections are supported at this time). At the bottom of the pricing tier settings, find the Call to Action settings. Click the three vertical dots on the right side, and check the box that reads "Stripe Checkout".
The second input field should now read "Stripe: Nothing selected yet". Click that text to select the Stripe product you want to attach to this button. Enter links starting with http:// or https:// into the "Success URL" and "Error URL" fields. Those are the pages where customers will be redirected upon completing (or cancelling) the checkout process.
Your Success URL and Error URL can not be your homepage and can not be identical.
The "Success URL" and "Error URL" fields are mandatory and Stripe checkout won't work if they are empty or don't start with either http:// or https://.
Testing
If you've completed all the steps above, your integration should be ready to go. Take note that it won't work inside the live editor, so publish your site to see it in action.