
Redirecting Pages (v1 & v2)
Redirects let you send visitors from old URLs to new ones, preventing 404 errors when you've moved or renamed content. The redirect functionality in v1 and v2 editors works the same way—only the interface location differs from v3.
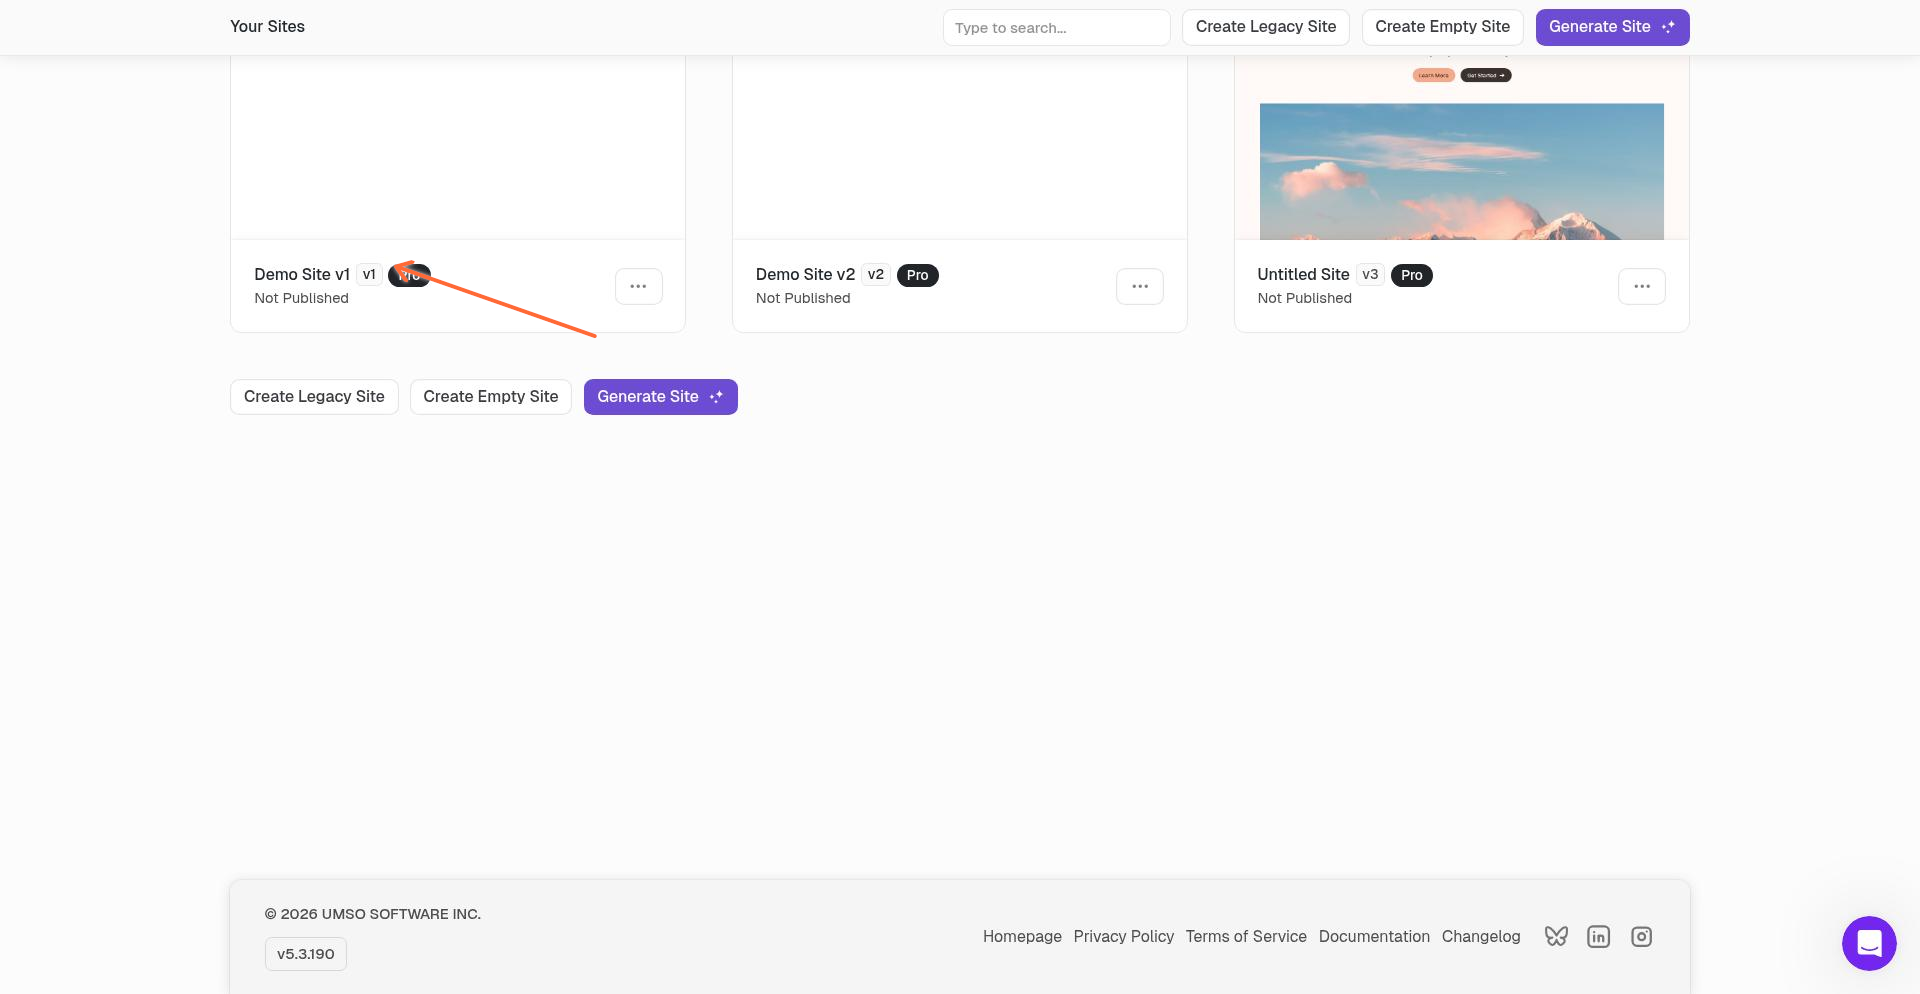
Before you begin: You'll need a v1 or v2 site. Look for the version badge next to your site name in the dashboard.
Finding Your v1/v2 Site
v1 and v2 sites are identified by a small badge next to the site name in your dashboard.
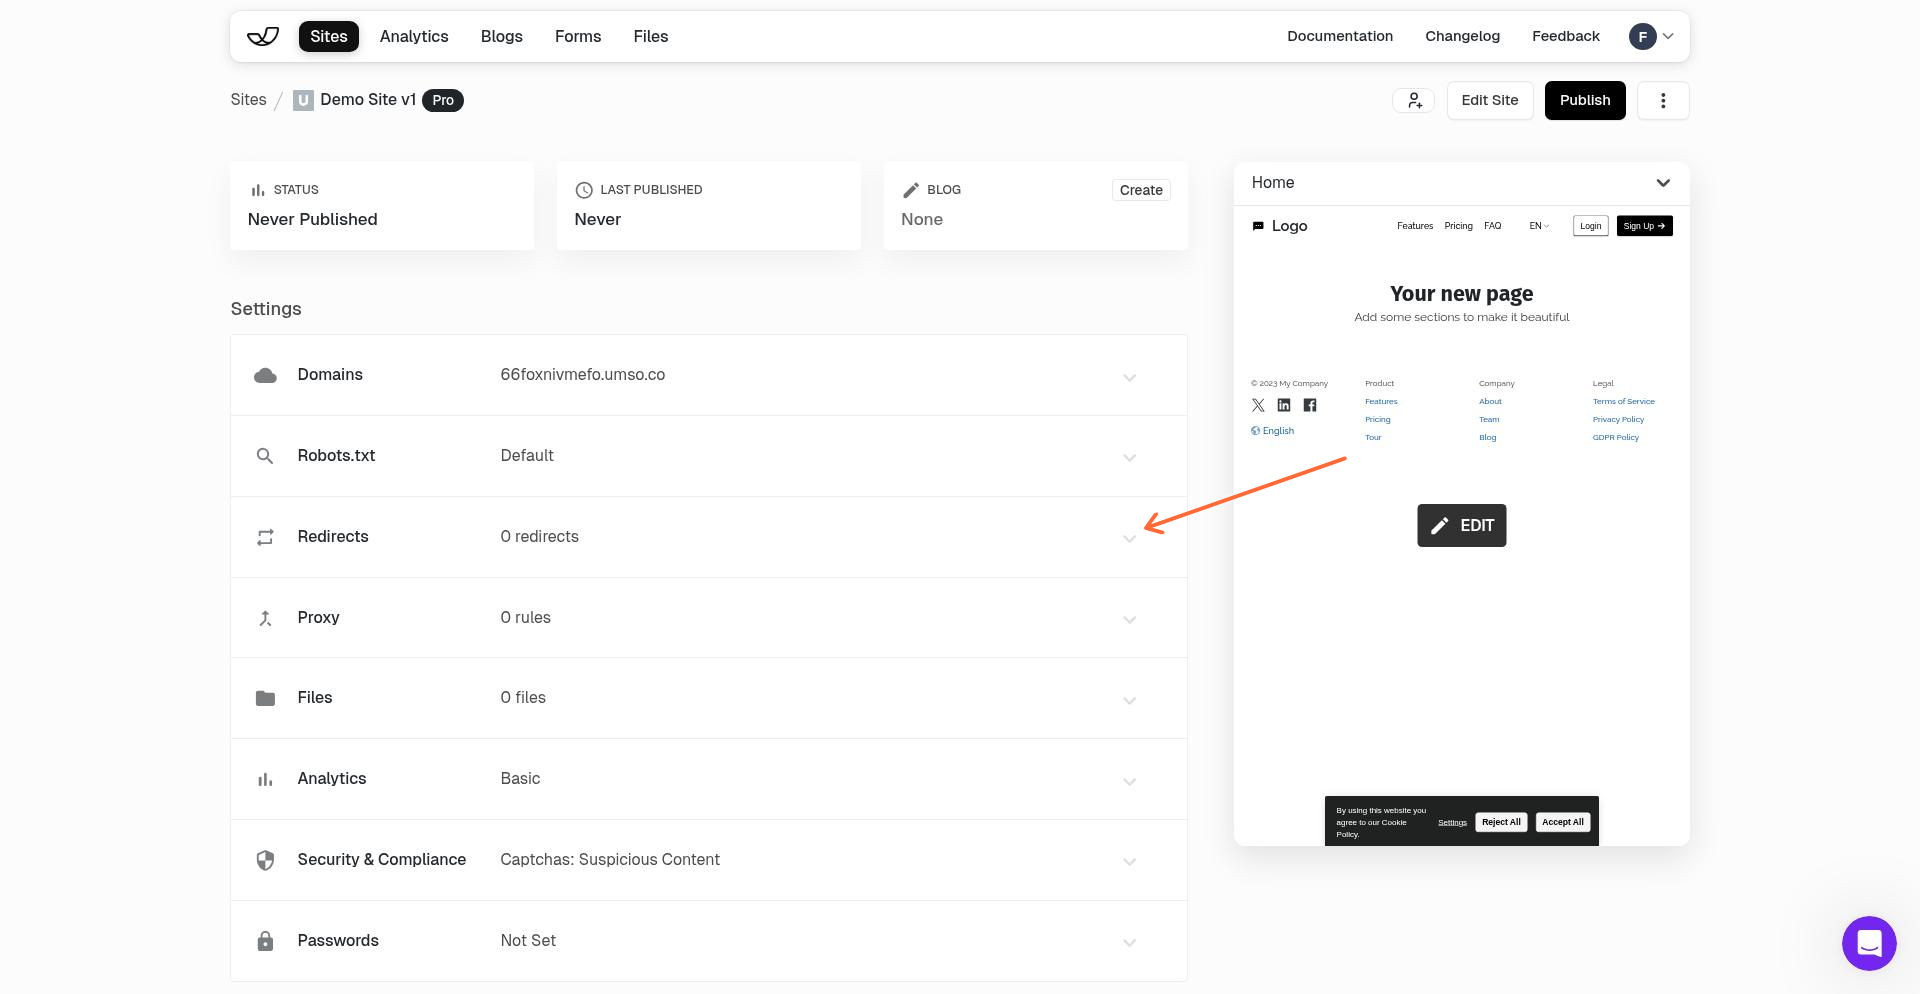
Accessing Redirect Settings
To manage redirects in v1 or v2:
Open your v1 or v2 site from the dashboard
Navigate to the site settings area
Click on the Redirects card
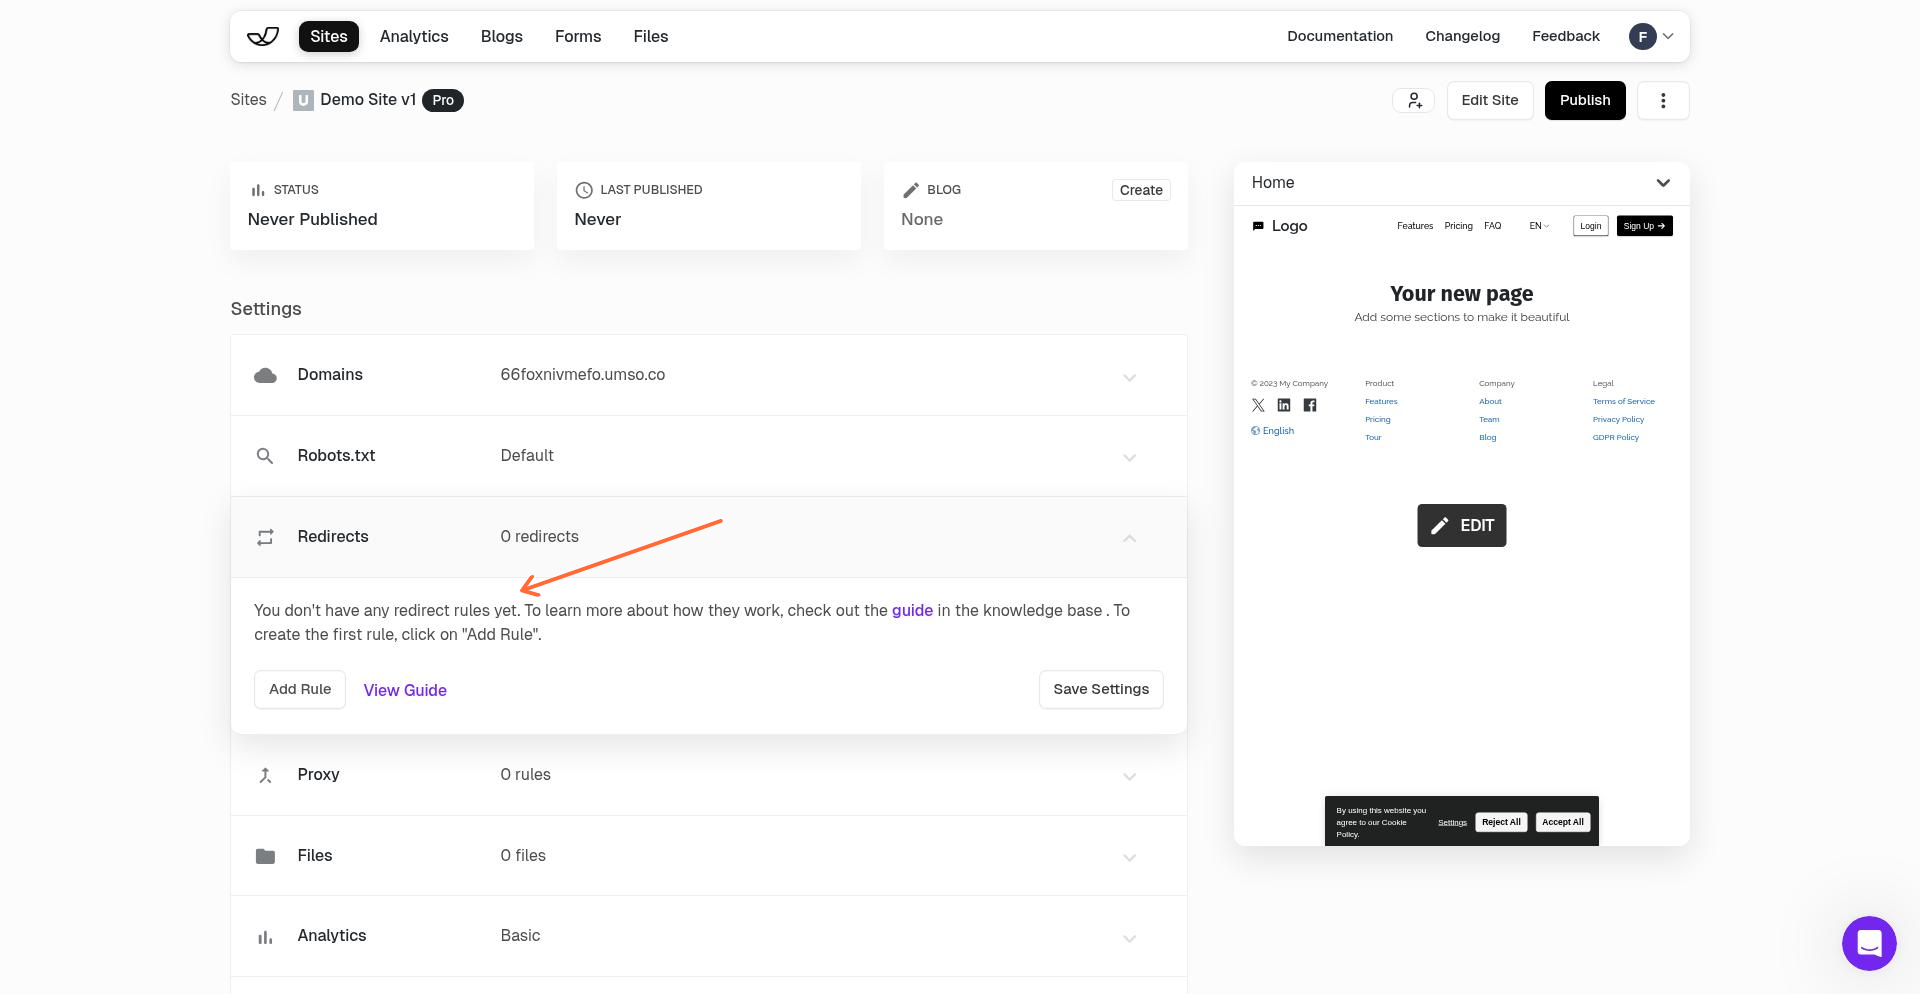
Adding a Redirect
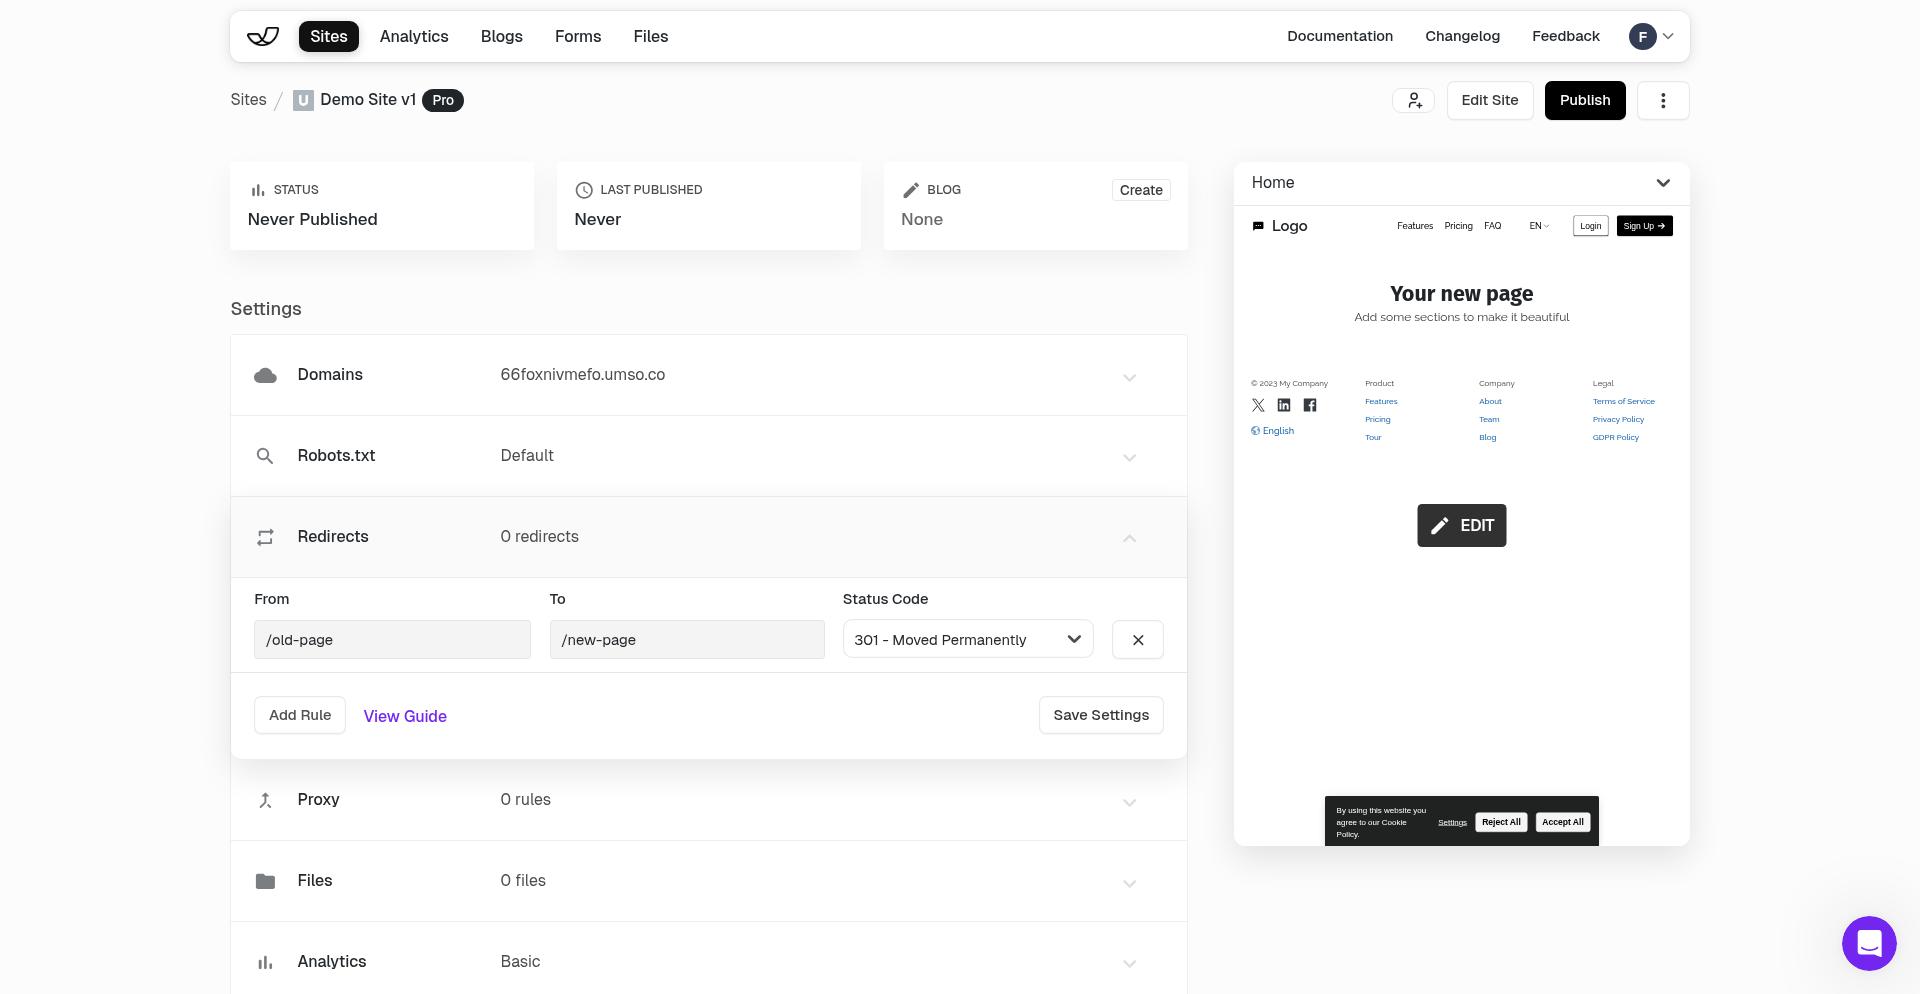
When you first open the Redirects settings, you'll see an empty state if no redirects exist yet.
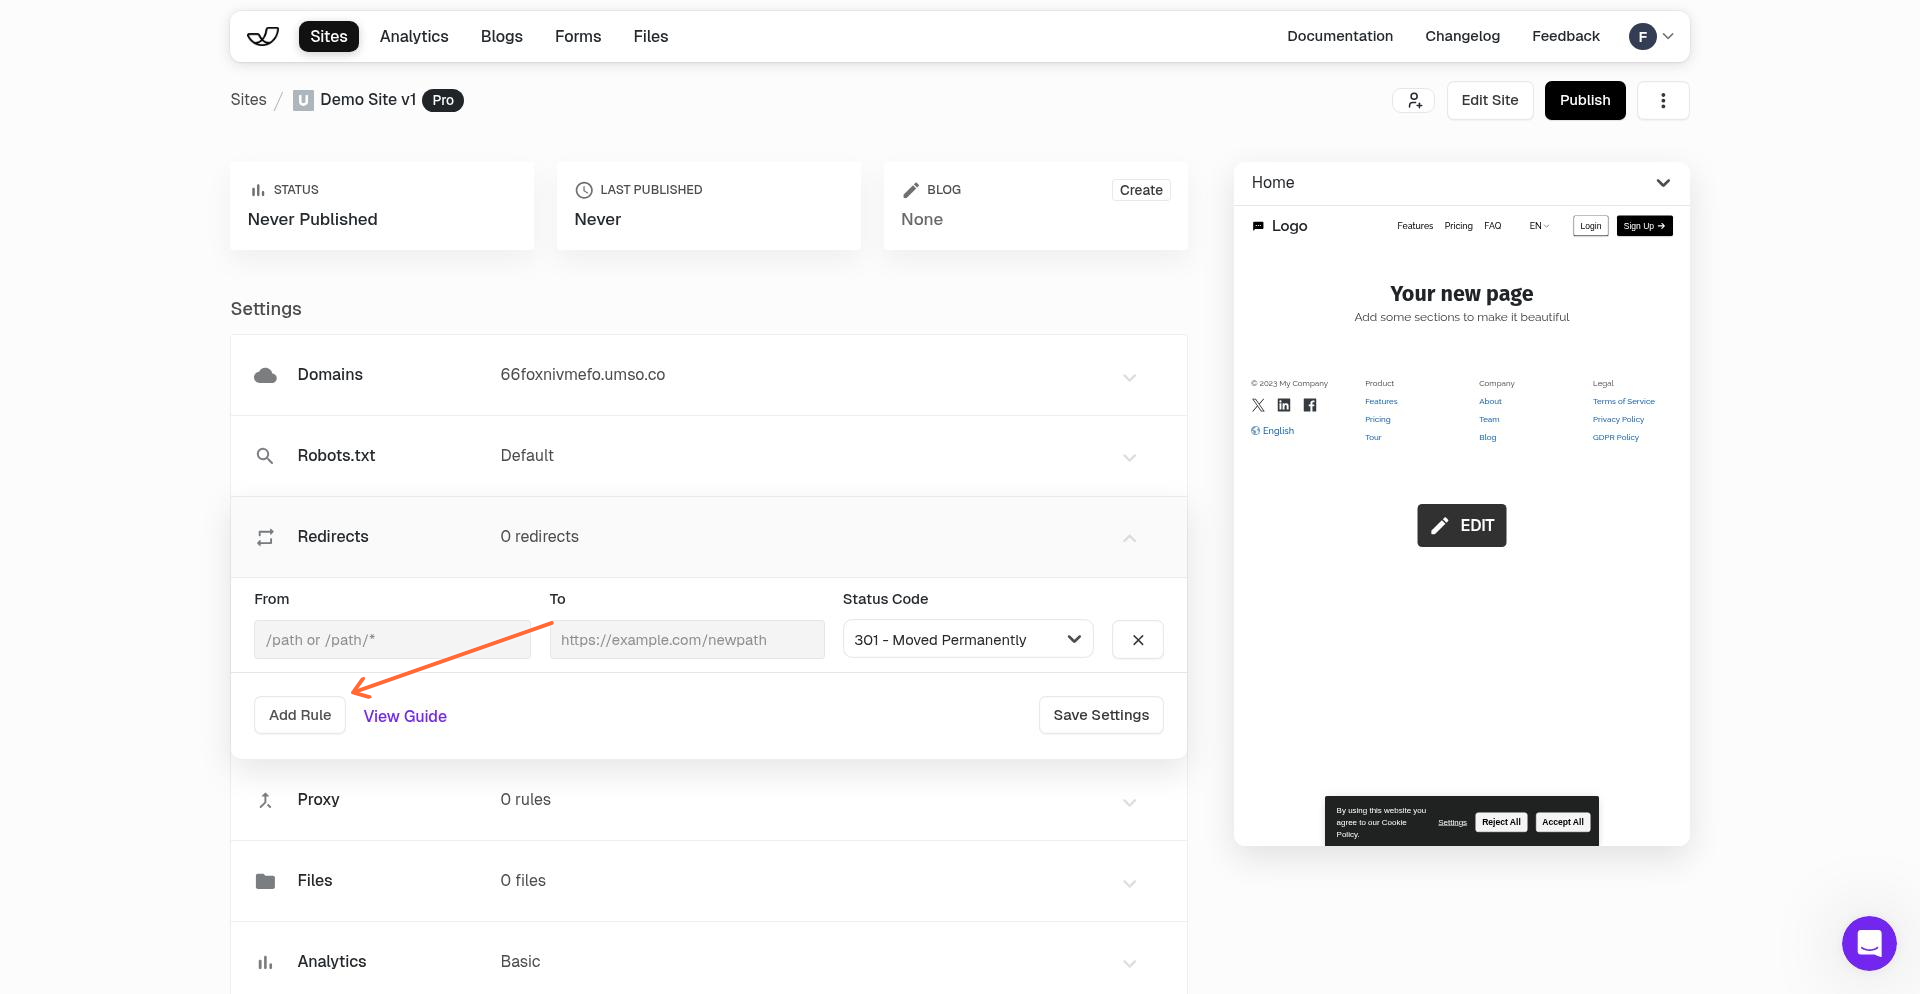
To create a redirect, fill in the three fields:
From — The old path you want to redirect (relative to your domain, e.g.,
/old-page)To — The destination URL (can be relative like
/new-pageor absolute likehttps://example.com/page)Status Code — Choose 301 (permanent) or 302 (temporary) for SEO purposes
Click Add Rule to create the redirect.
Example Redirect
Here's a redirect that sends visitors from /old-page to /new-page using a 301 (permanent) redirect:
If your domain is example.com, this redirect applies to example.com/old-page and sends visitors to example.com/new-page.
Saving Your Redirects
After adding your redirect rules, click Save Settings at the bottom of the page. Your redirects will appear in the list above the form.
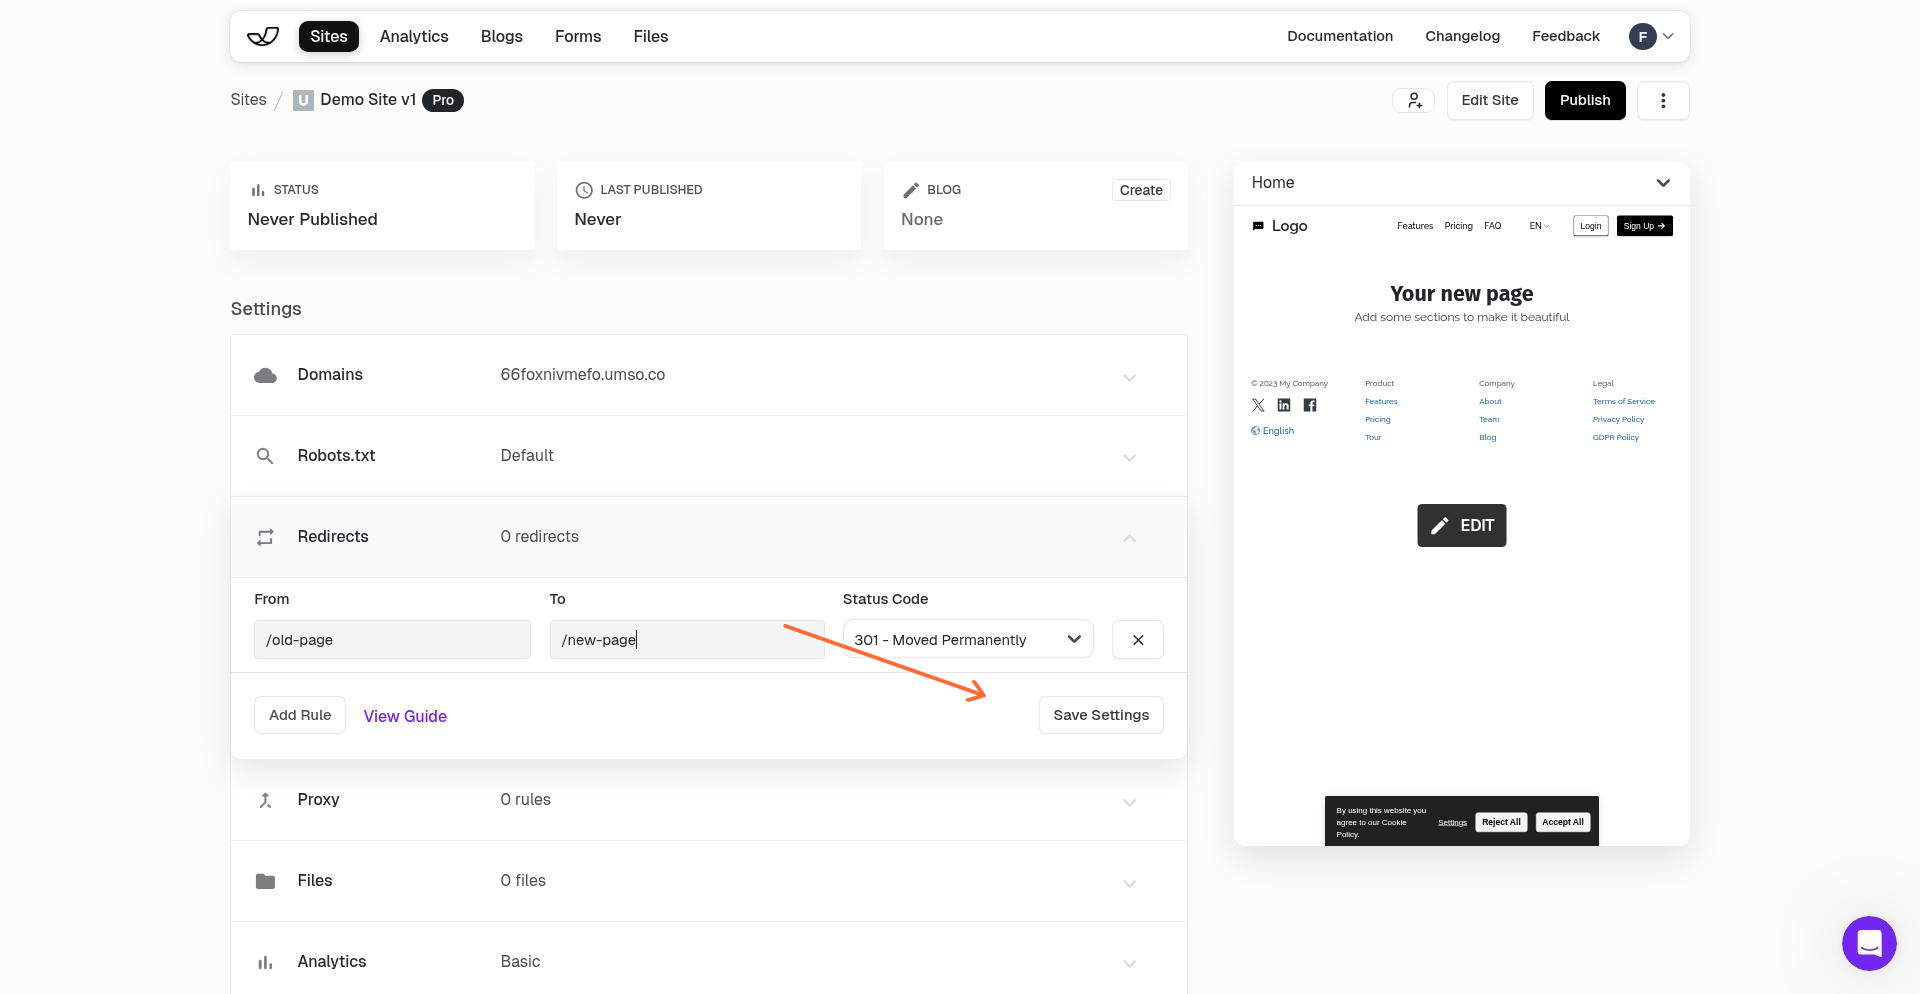
Redirects only become active immediately after they are added. You don't have to publish your site again.
Understanding Status Codes
Choose the right status code for your redirect:
301 (Permanent) — Use when the content has permanently moved. Search engines will update their index to the new URL.
302 (Temporary) — Use when the move is temporary. Search engines will keep the original URL in their index.
Most redirects should use 301, especially when you've renamed pages or restructured your site.
Common Use Cases
Redirects are useful for:
Renaming pages while preserving links from other sites
Moving content to a new location
Consolidating multiple pages into one
Redirecting old marketing campaign URLs to current pages
Preserving SEO value when restructuring your site
Limitations
Keep these constraints in mind:
The "From" path must be relative (no full domains)
Redirects don't support wildcards or regex patterns
Query parameters and URL fragments (hashes) aren't allowed in the "From" field
Spaces aren't permitted in paths
Free plan users may need to upgrade to add new redirects
Related Articles
For v3 editor redirect instructions, see Redirecting Pages.