Creating a Form
Forms is a powerful feature to capture information from your customers for lead generation, signups, mailing lists, content submission, and whatever else you can think of! You can build forms with drop-downs, checkboxes, input fields, file uploads, and much more.
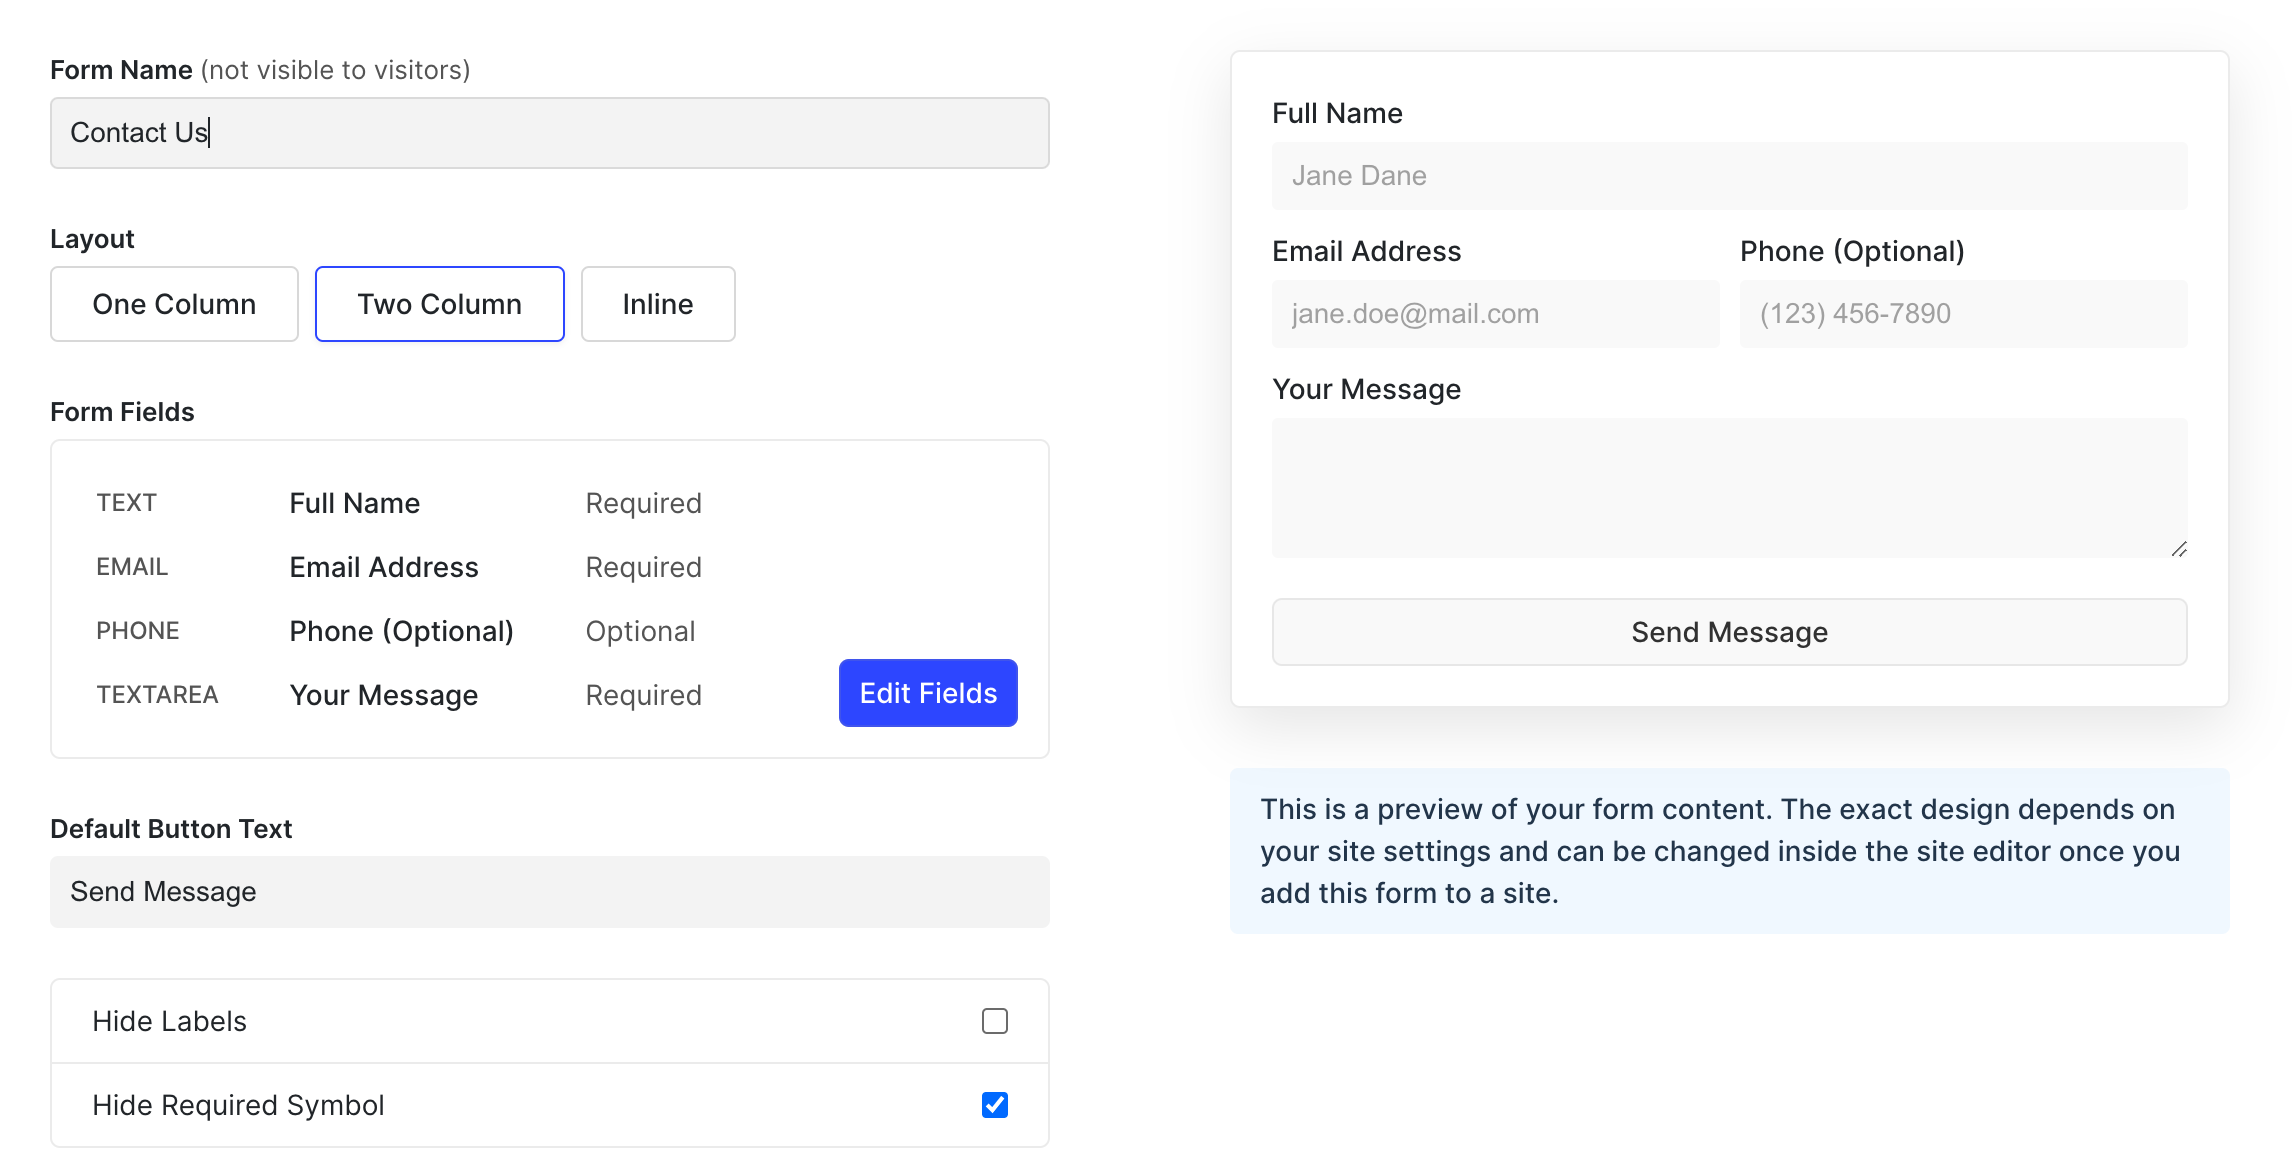
You can create a form under the section Forms in the Umso app. On the top-right, click on the button "Create Form". You will be able to pick from a few template options. After you have chosen your template and your form name and the layout, you can individually create and edit different fields for your form by clicking "Edit Fields".
You will notice that there are no design options in the form editor. To adapt the design, add the form to a website and adjust the design in the site editor. This is very useful if you want to include the same form in multiple websites with different designs.
Form Fields
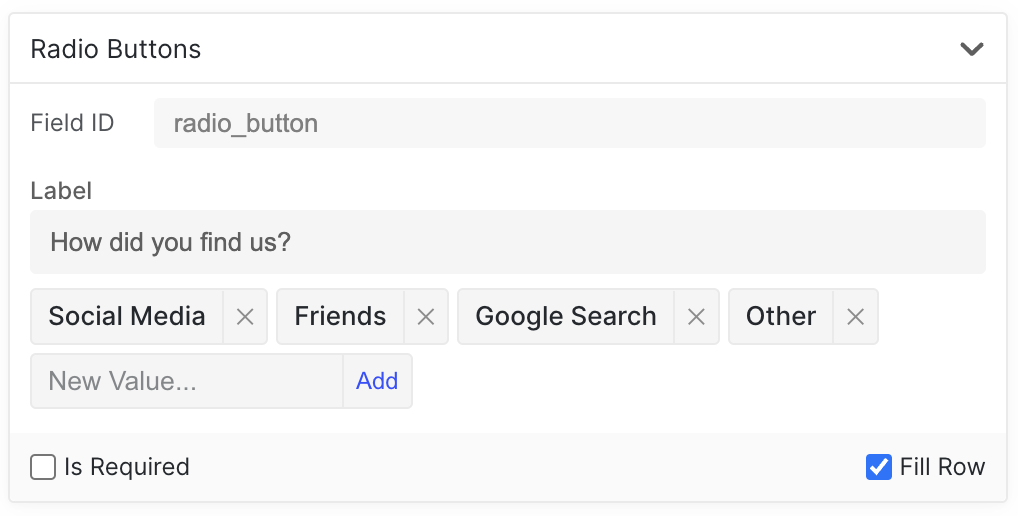
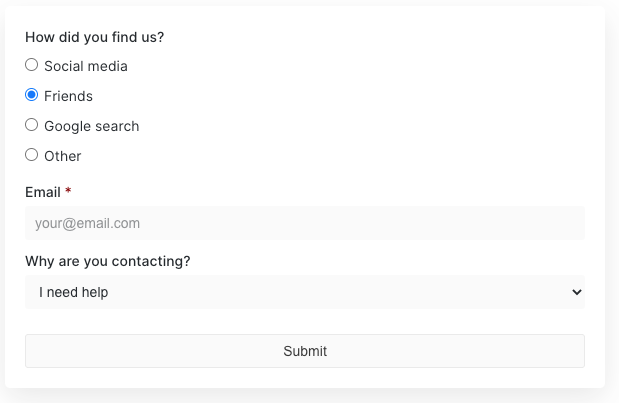
In Form Fields, you create and edit all the fields in your form. You can choose between Text Field, Email, Phone, URL, Number, Text Area, Checkboxes, Radio Buttons, Select and Upload file. You can also select "None" to hide the input field. Below are three examples of Radio Buttons, Email, and Select.
The file size upload limit is 50MB. The file types supported at the moment are the same as the file library, however, we will be supporting more file extensions in the future.
Form Fields IDs
Every form field has an id attached to it. That allows you to better map when integrating with third parties and webhooks. Field ids are unique, and if not field it uses the field name instead.

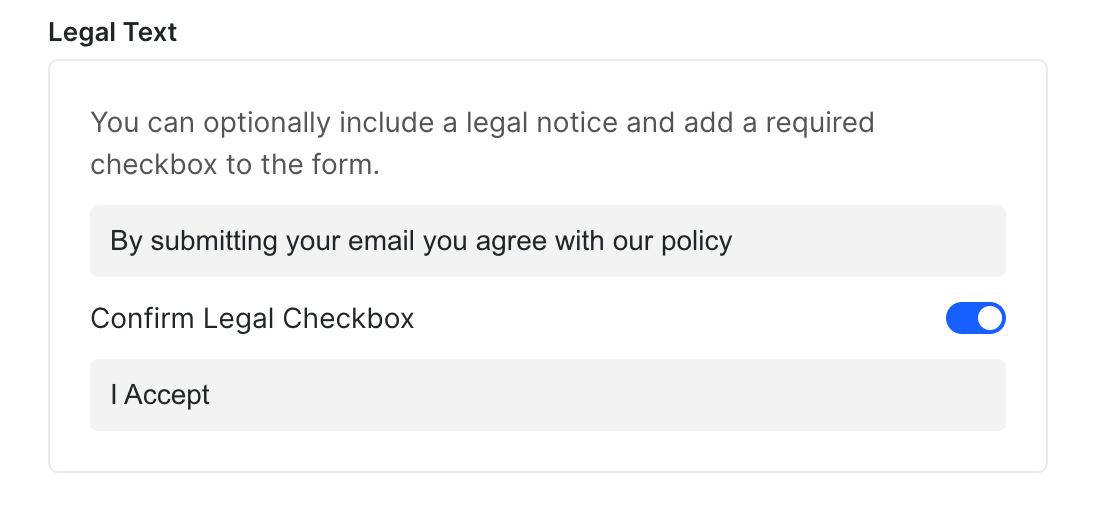
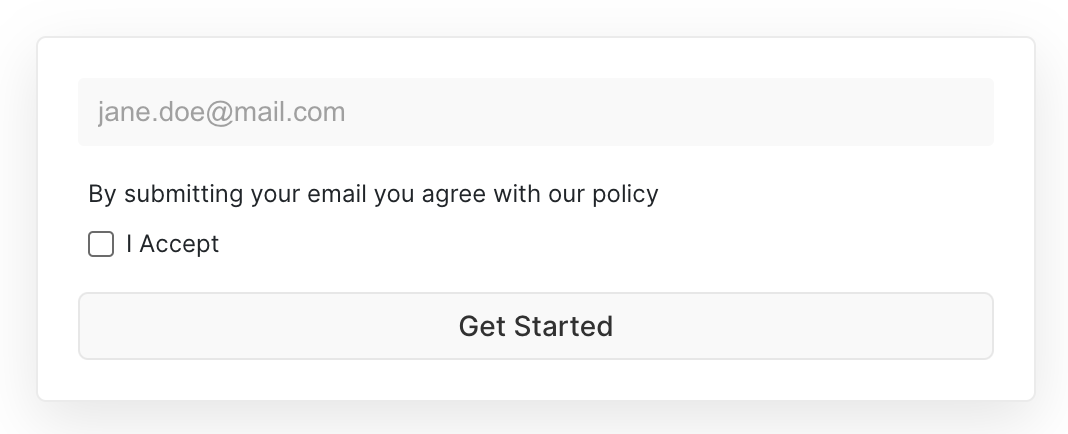
Legal Text
You can add a legal text with or without a required checkbox to your form. That will allow the user that is submitting the form to make sure they have read your legal text before it is submitted.